- TOSIZE.dk
- Do it yourself
- DIY Projects
Playful wooden children's furniture with chalkboard, by Nils
Playful wooden children's furniture with chalkboard, by Nils
Create this project yourself with sheet material cut to size by TOSIZE.dk!
Nils
Above average
3 minutes
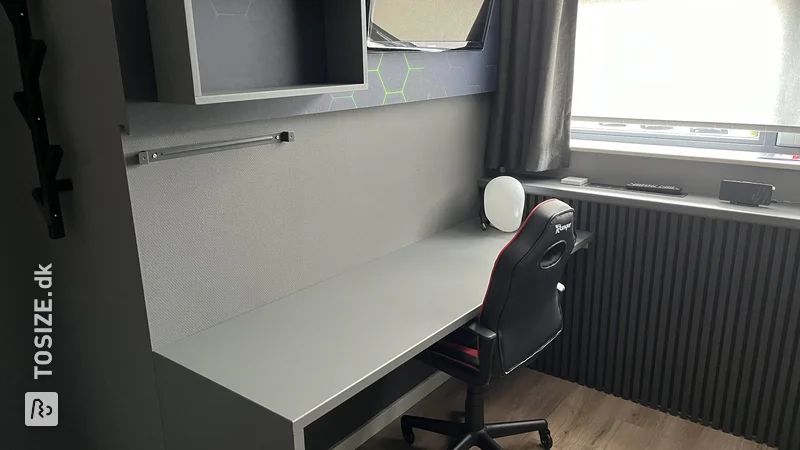
In this DIY project, Nils shares his creation of a playful wooden children's furniture with a handy chalkboard. Find out how he designed and created this unique piece of furniture, perfect for children's rooms. Be inspired by his creativity and get ideas to create something similar yourself to brighten up the children's room.
Description by Nils
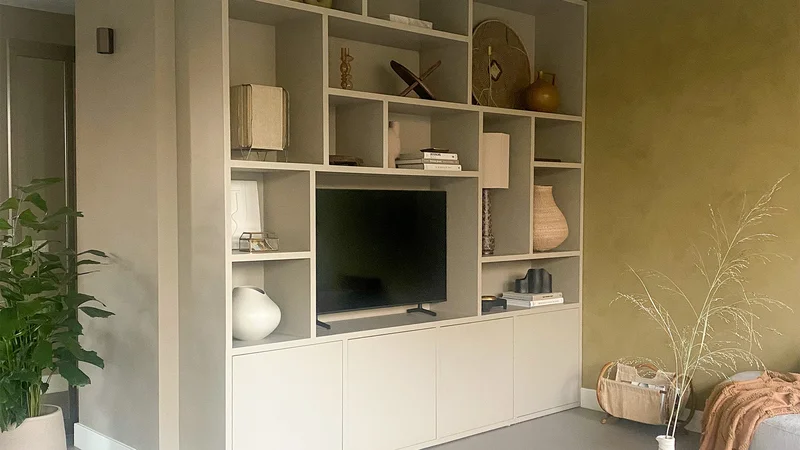
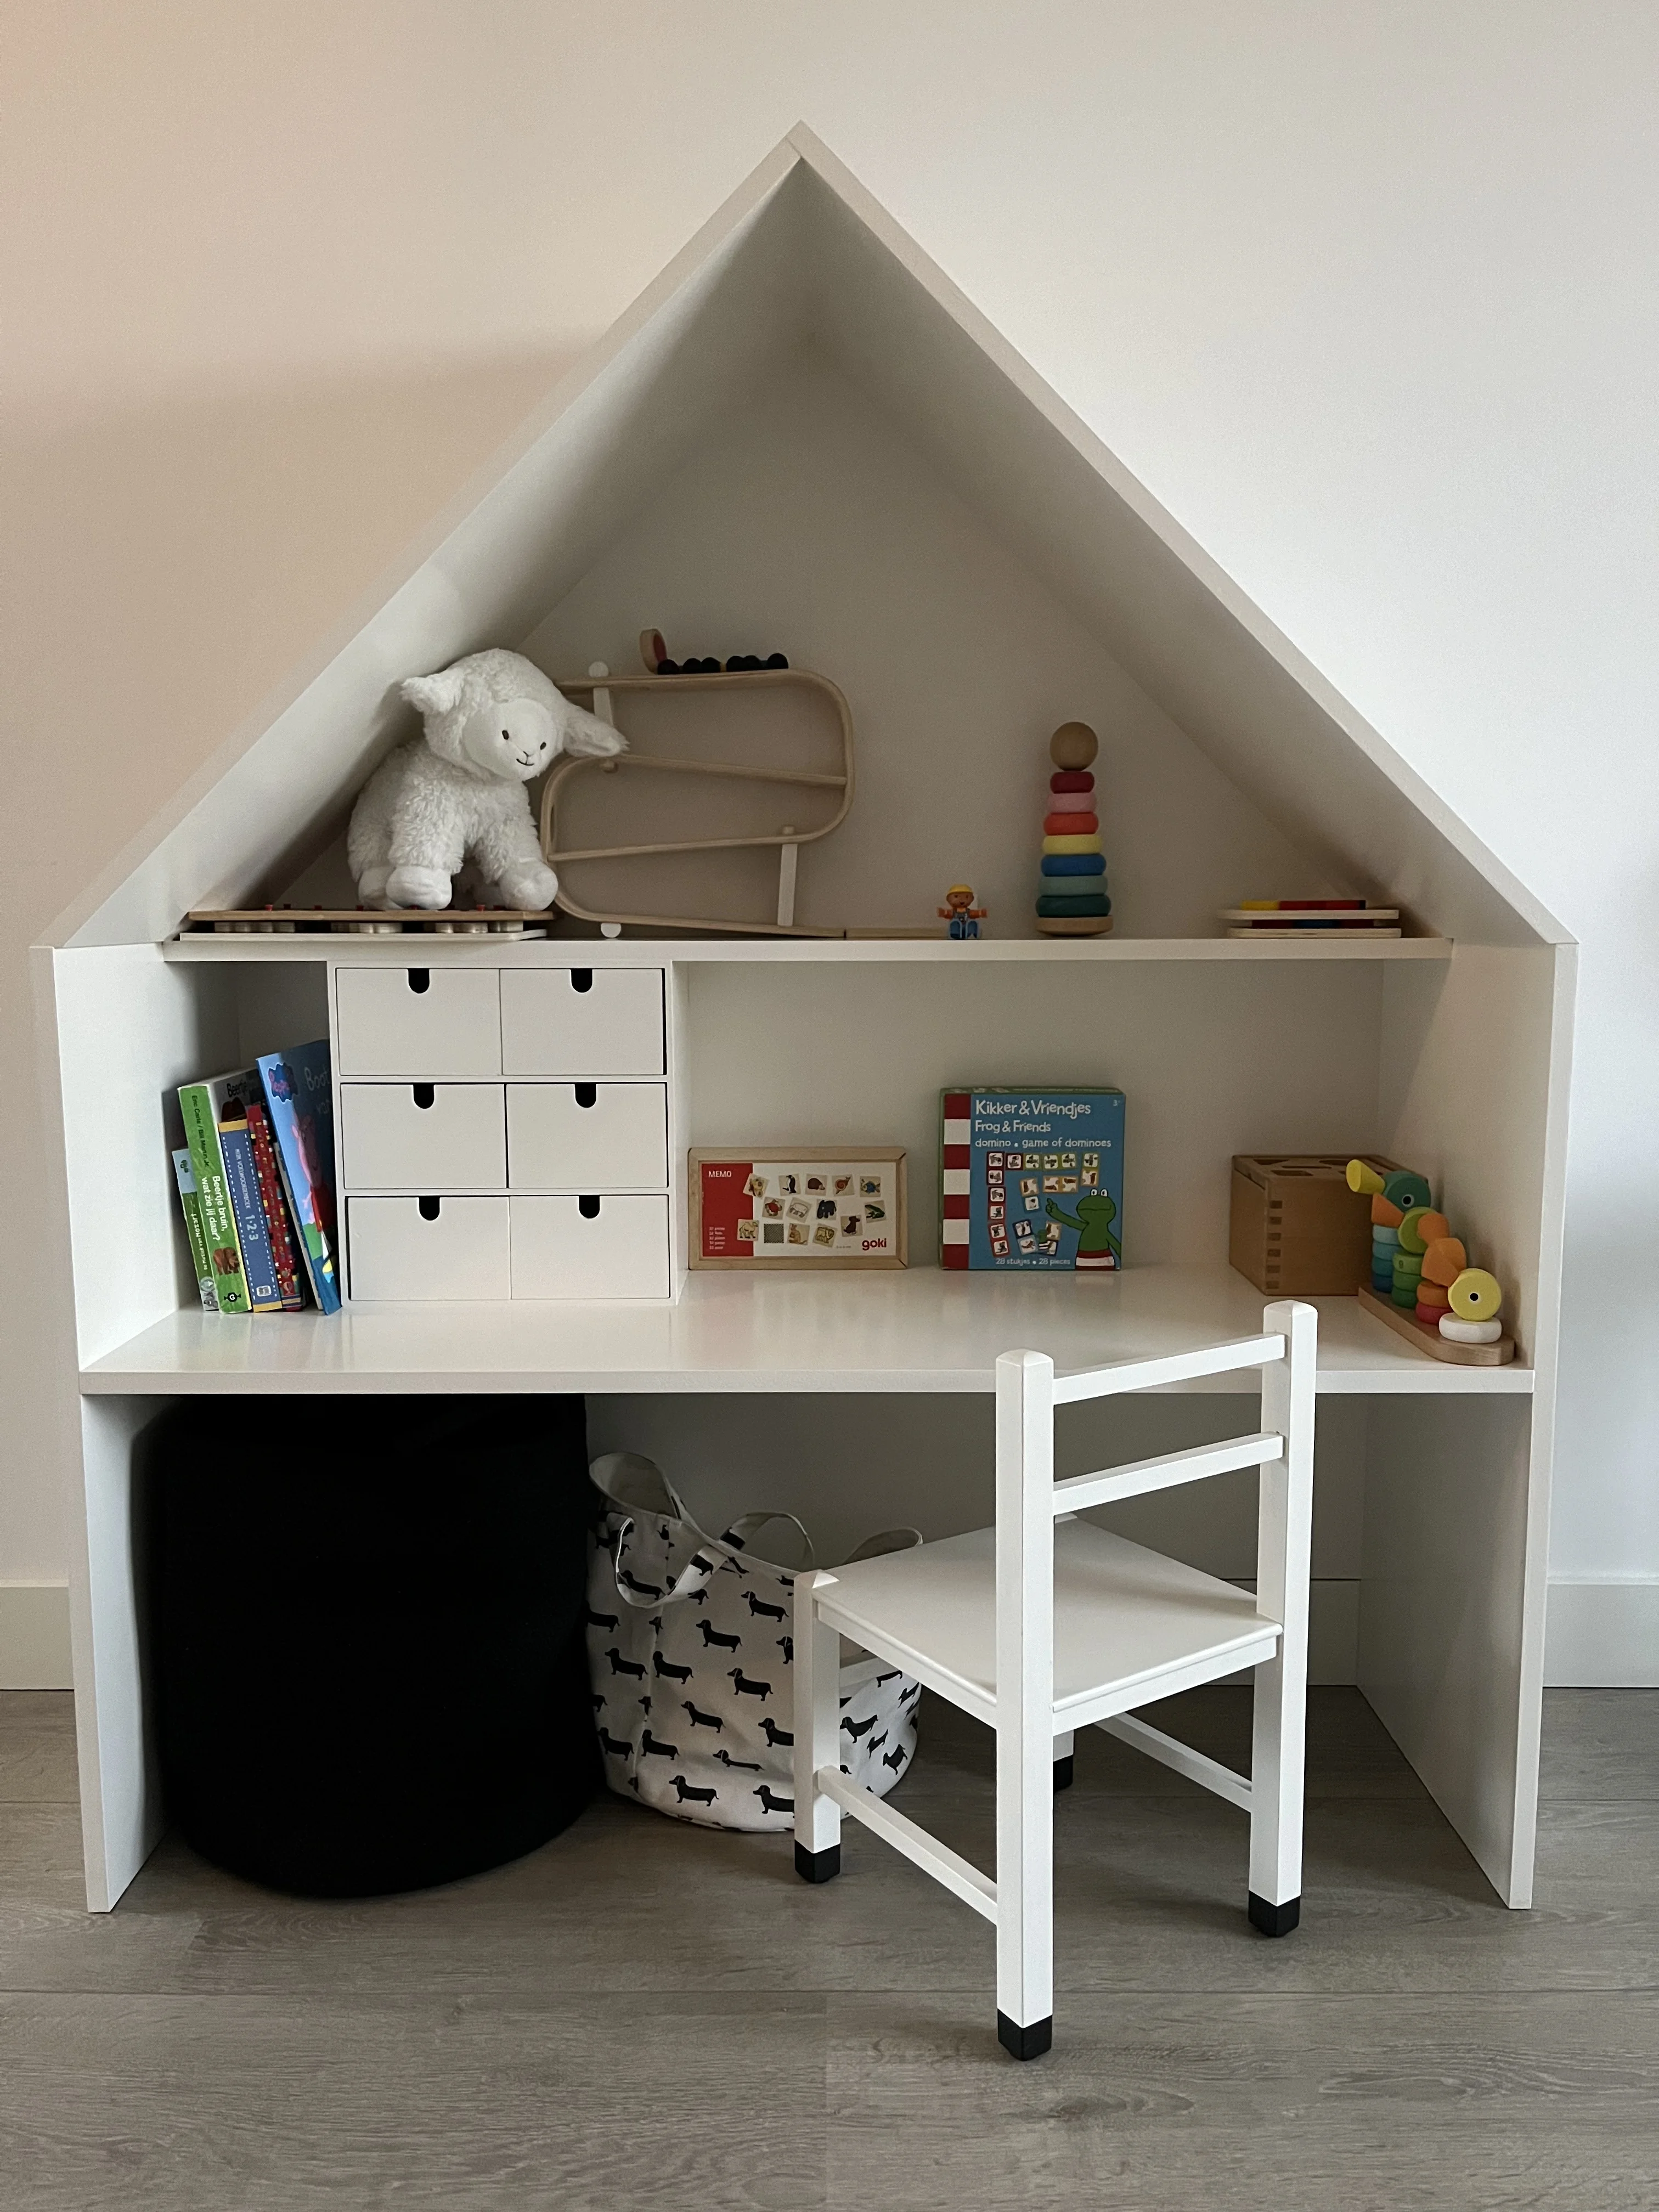
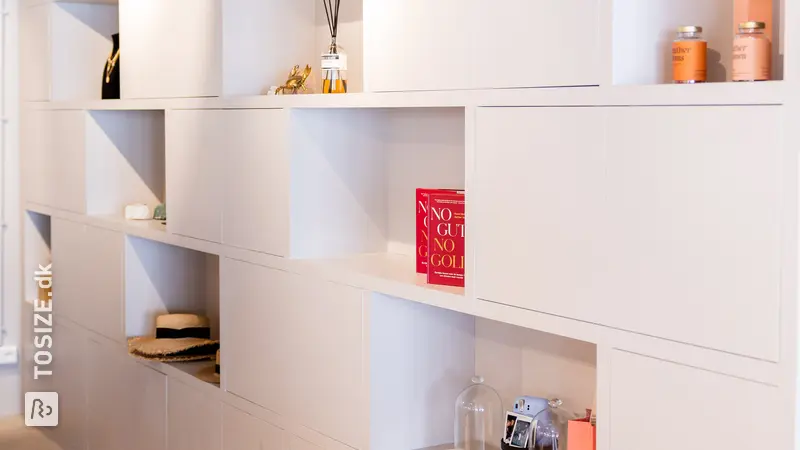
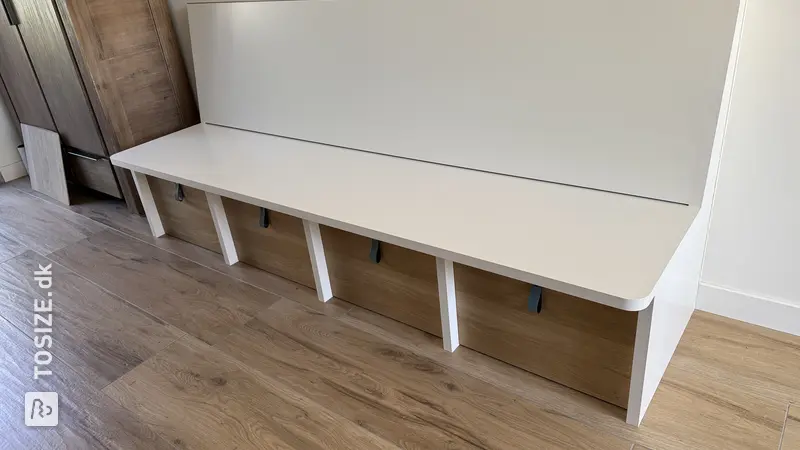
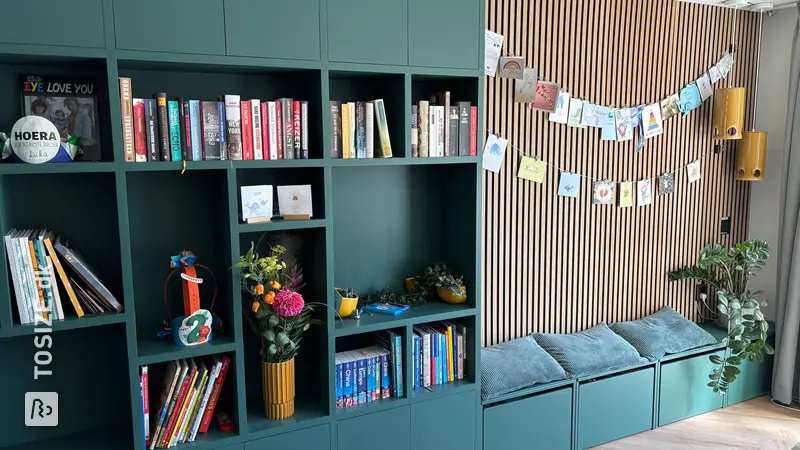
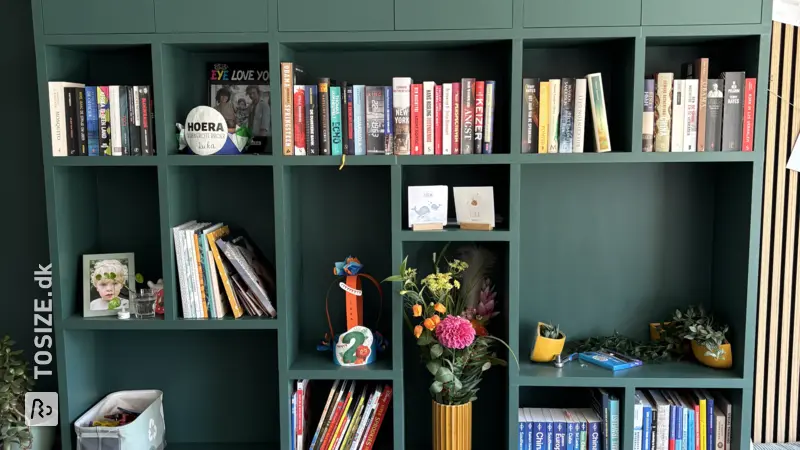
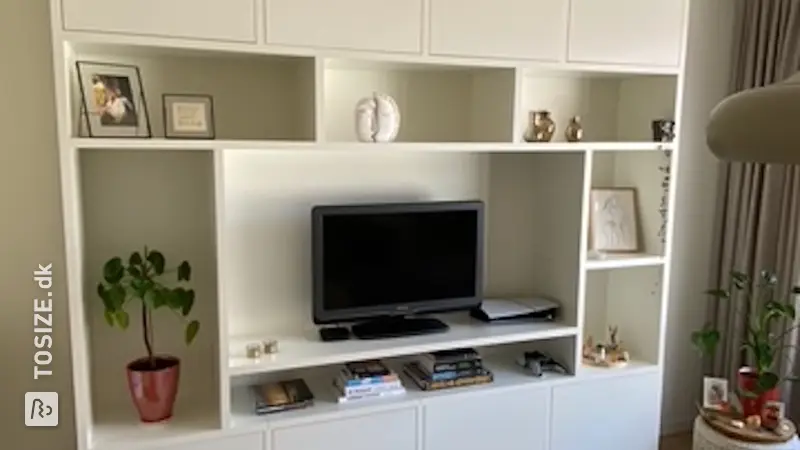
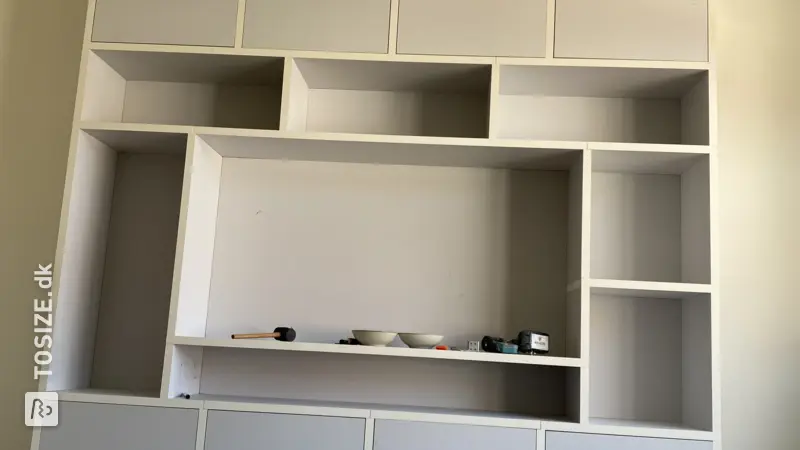
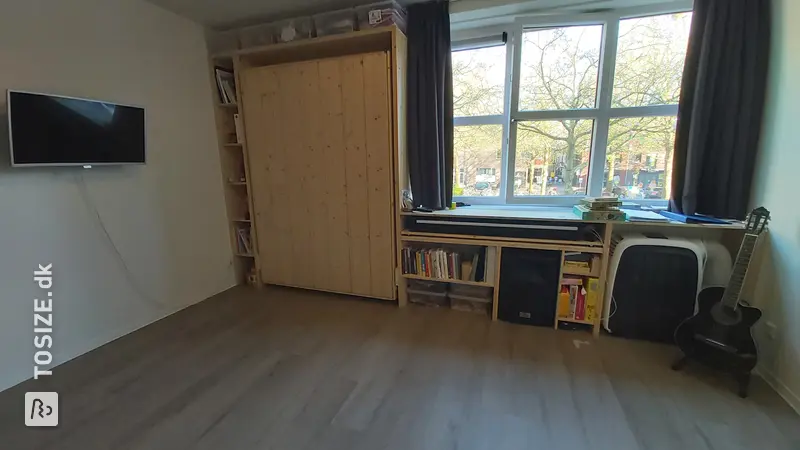
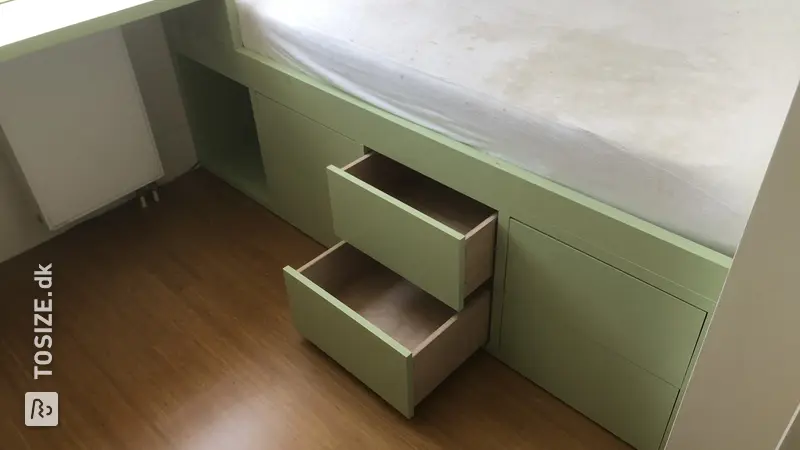
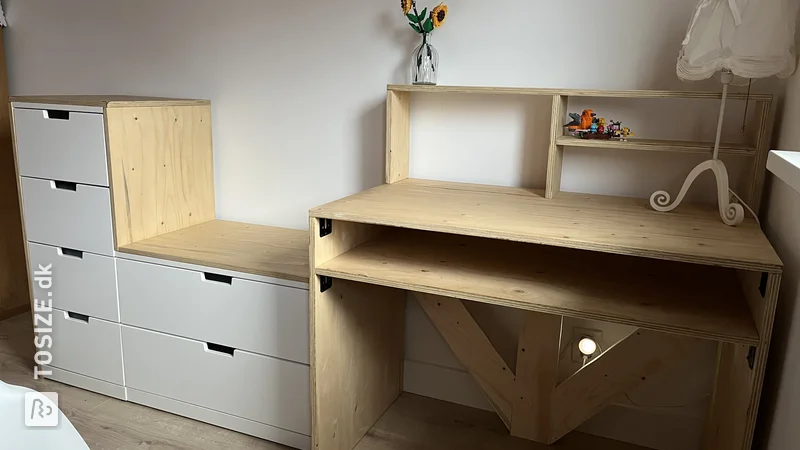
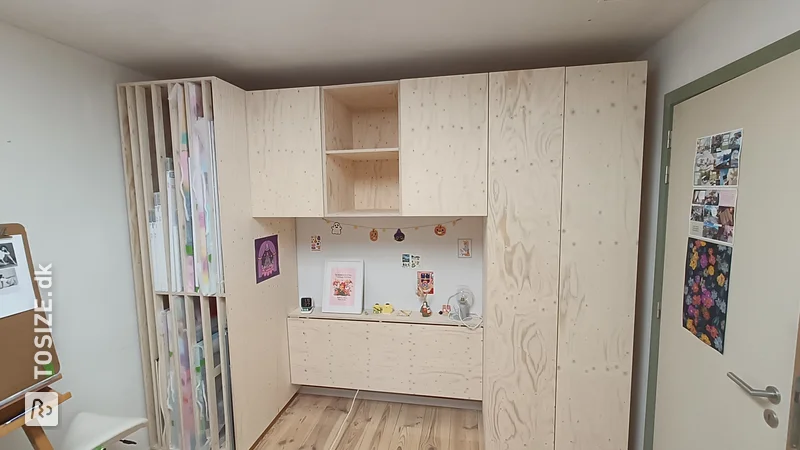
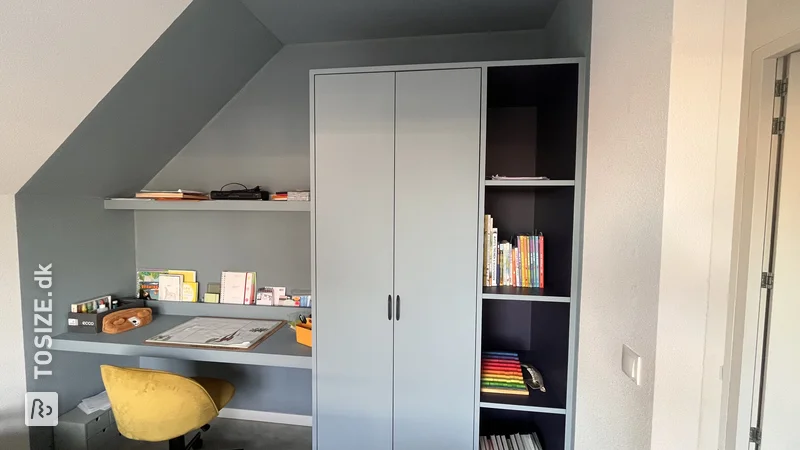
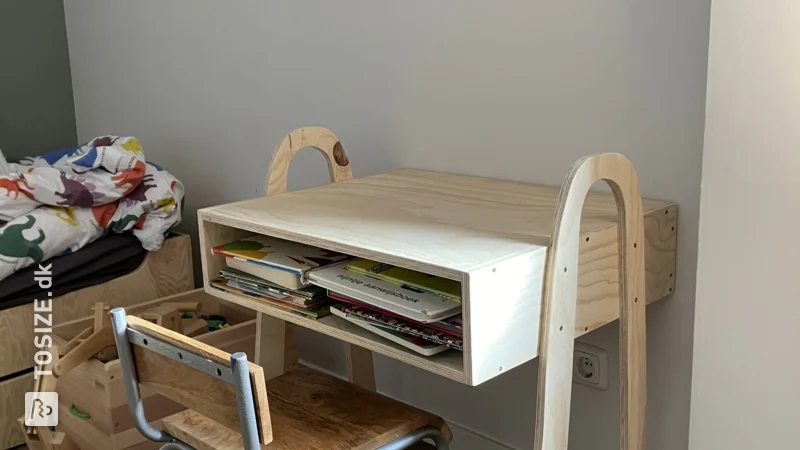
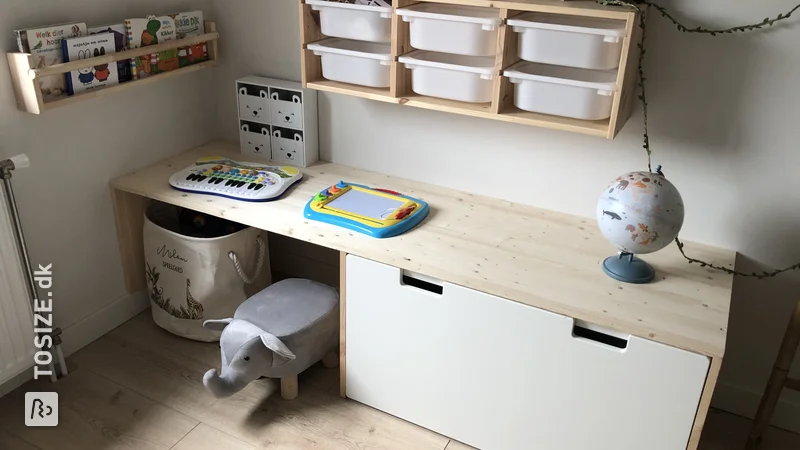
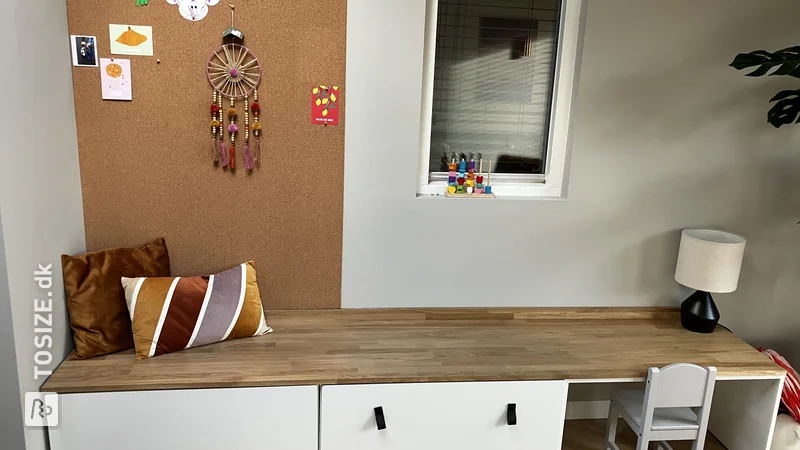
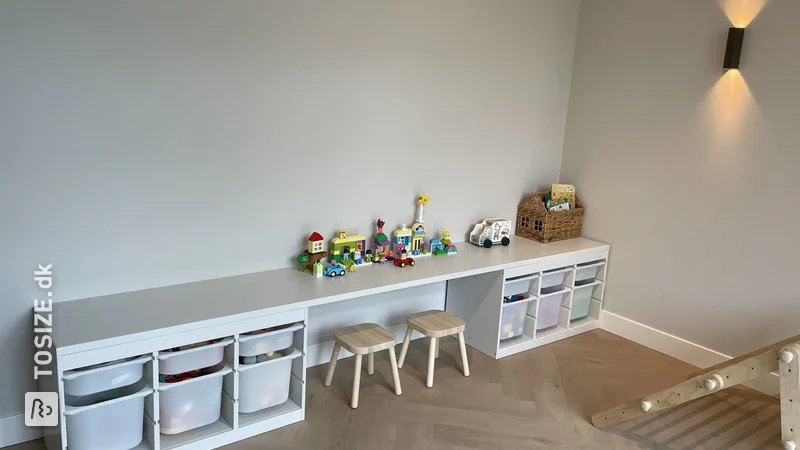
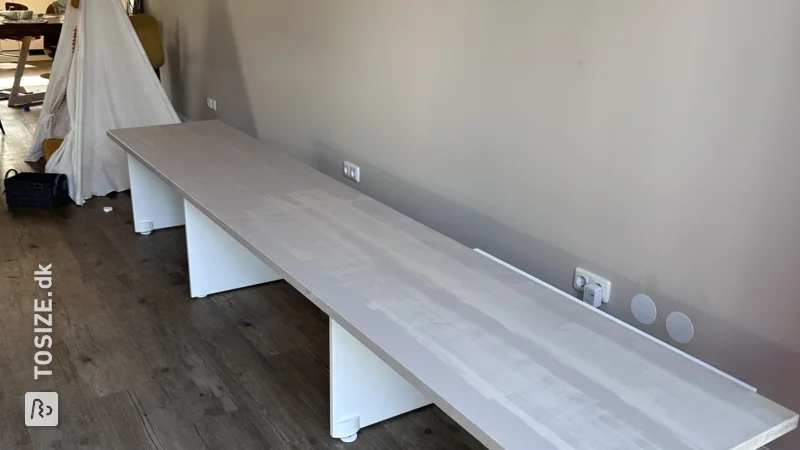
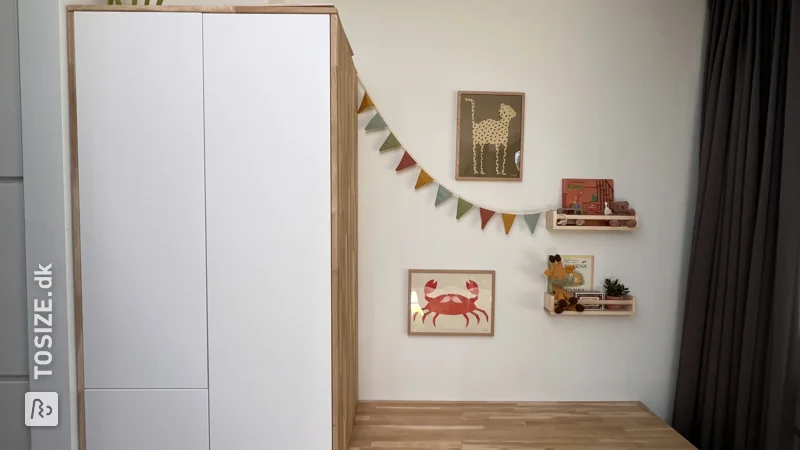
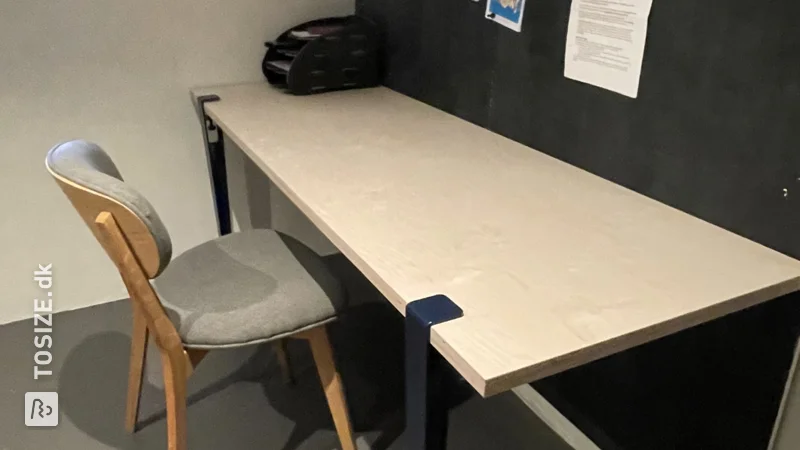
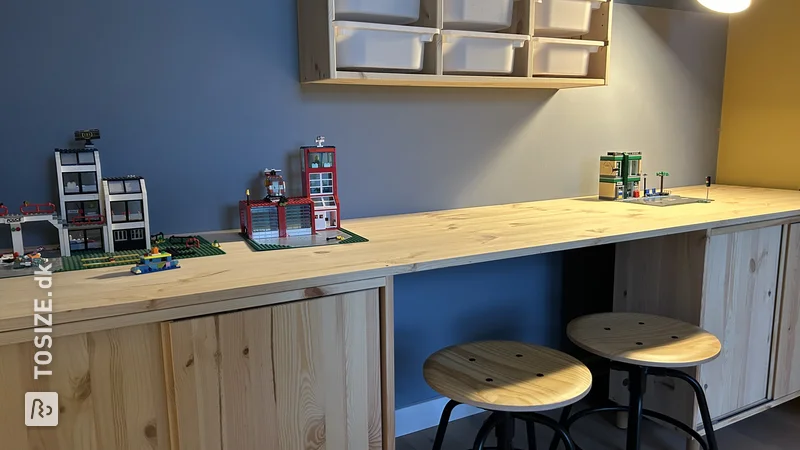
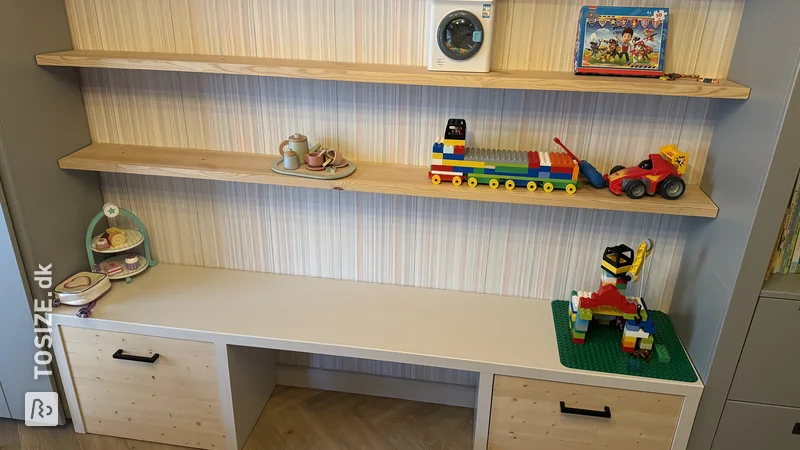
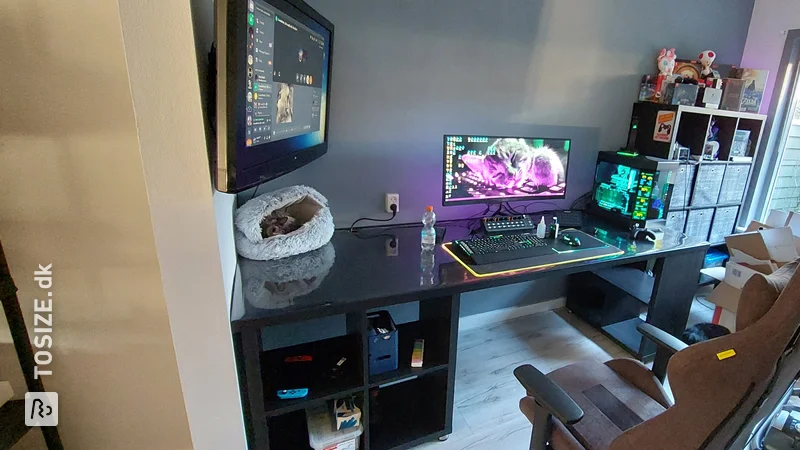
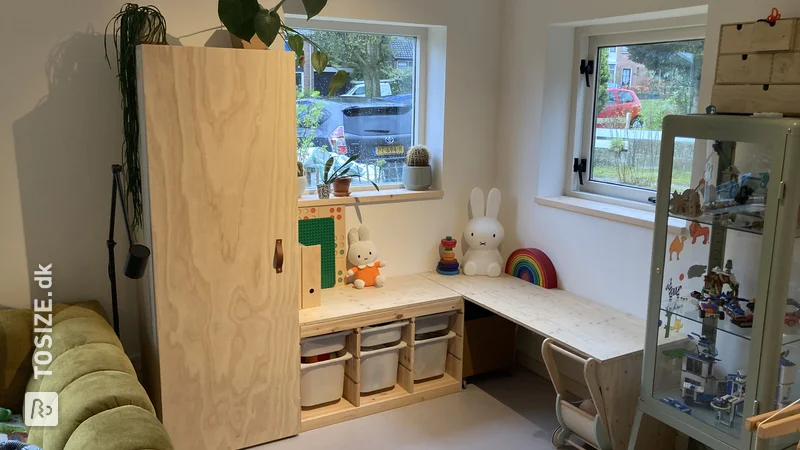
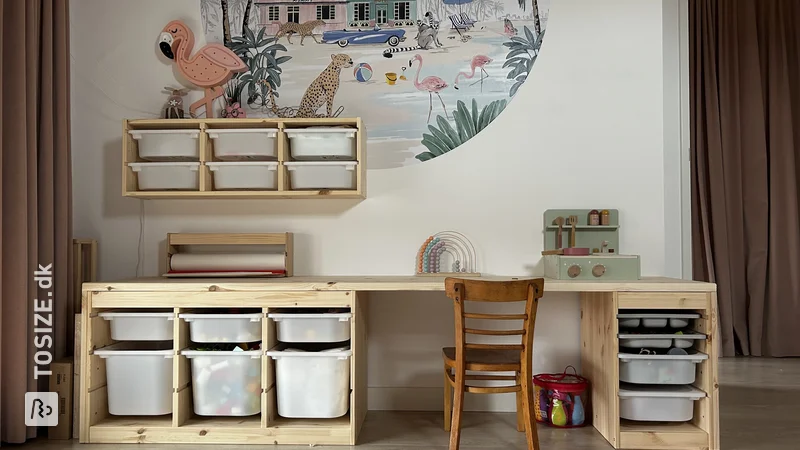
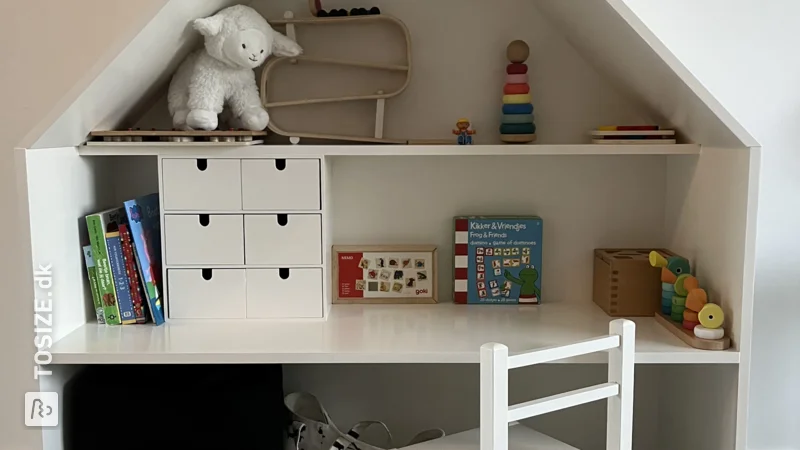
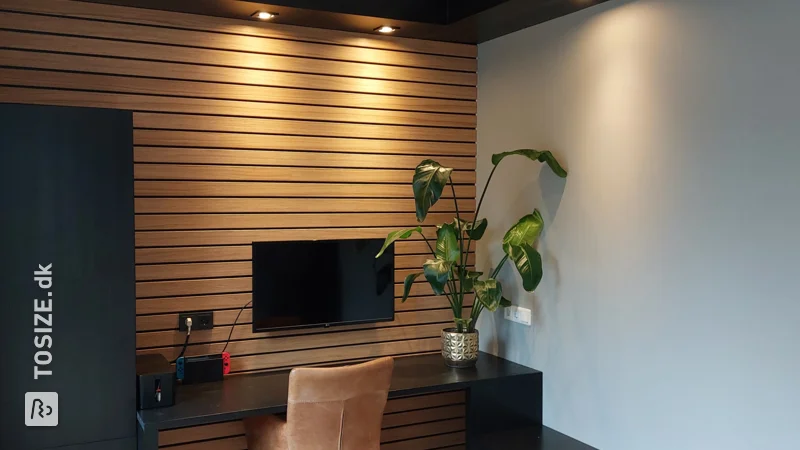
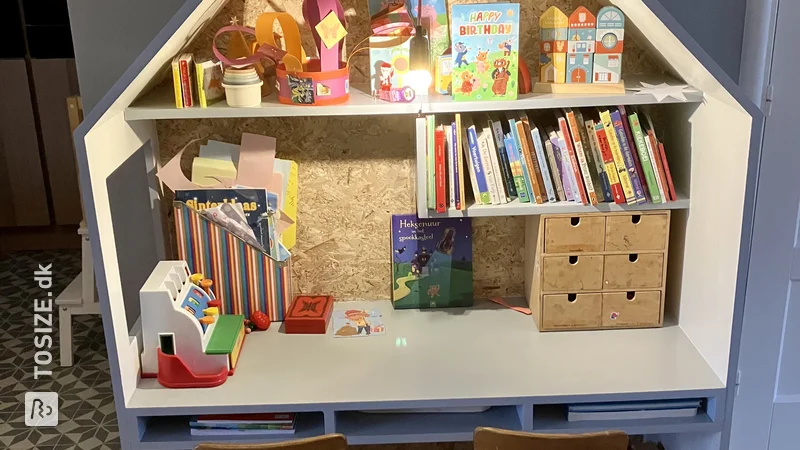
This children's furniture has room for three rolling bins to store toys to store. The open space in the middle offers space for a child's chair and on the right side there is a depression for comfortable sitting (with a cushion). In addition to the opening for the seat, there is a smaller opening with an extra shelf for reading books. A sign is attached behind the furniture. Things can be hung on one part and the other part is painted with chalk paint.
How I made this project
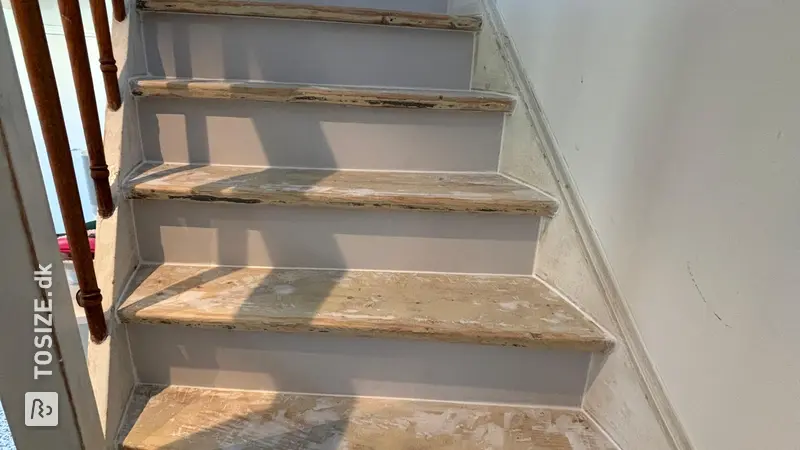
- Step 1: Check order and sand wood where necessary.
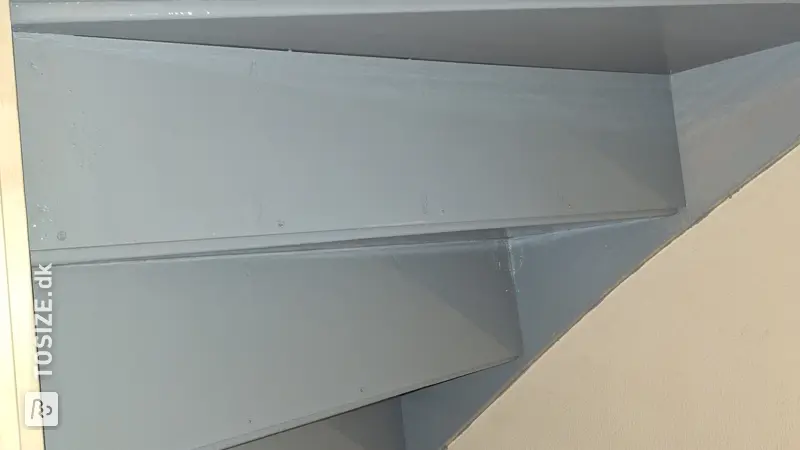
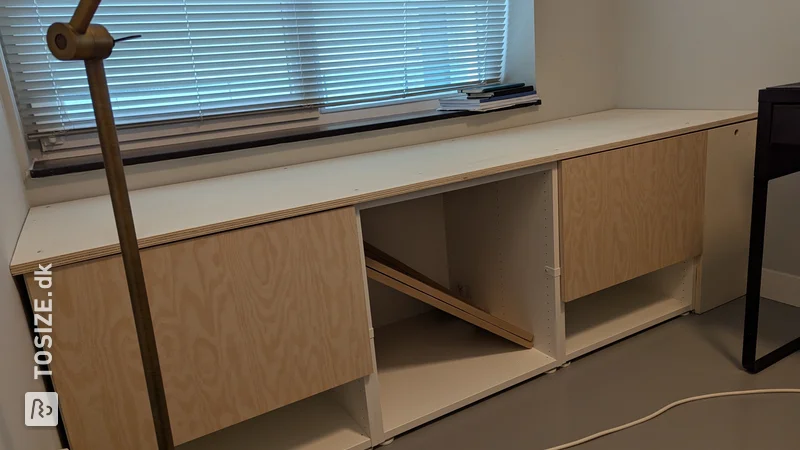
- Step 2: use a screw connector to attach all 'uprights' holes pre-drilled with a tapered drill (see photos). This way everything is screwed together invisibly on the inside.
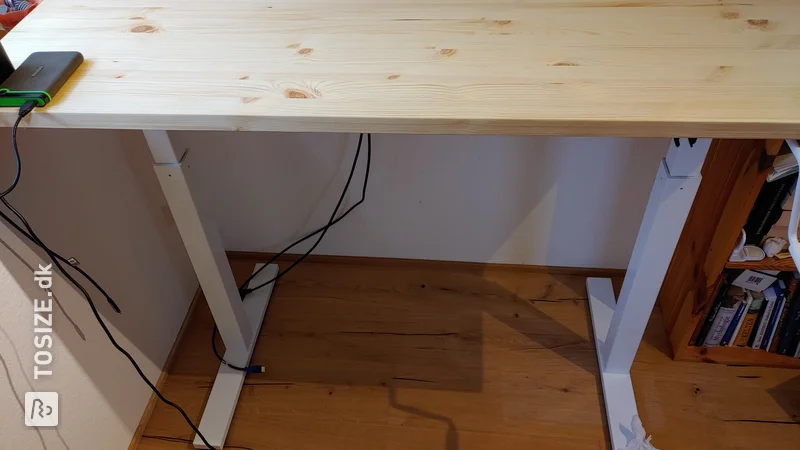
- Step 3: attach the uprights under the top with wood glue and (after a few minutes of drying) with screws. To keep the uprights straight and at the correct distance apart, temporary slats have been used as spacers.
- Step 4: screw the boxes together. The screw connector was also used for this. Because this cannot be used with 12mm wood, extra slats have been sawn from the residual wood (see photos). NB! The sides and back of the boxes have been cut 14 mm shorter in height due to the extra slat under the wheels! This can be adjusted in advance in the shopping cart to avoid this sawing.
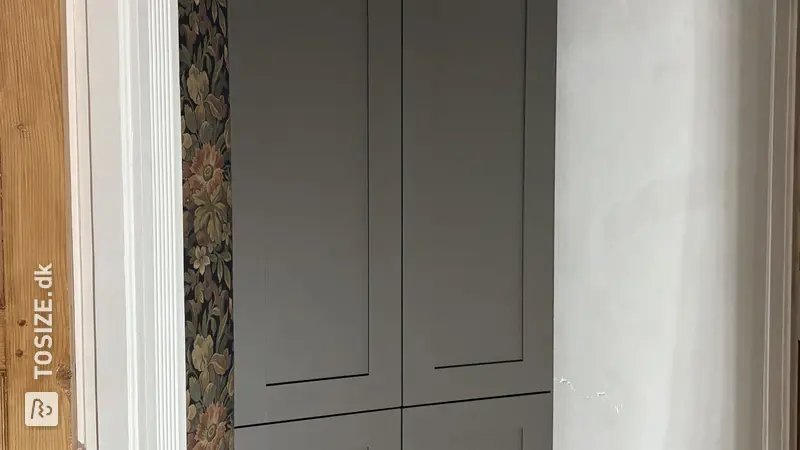
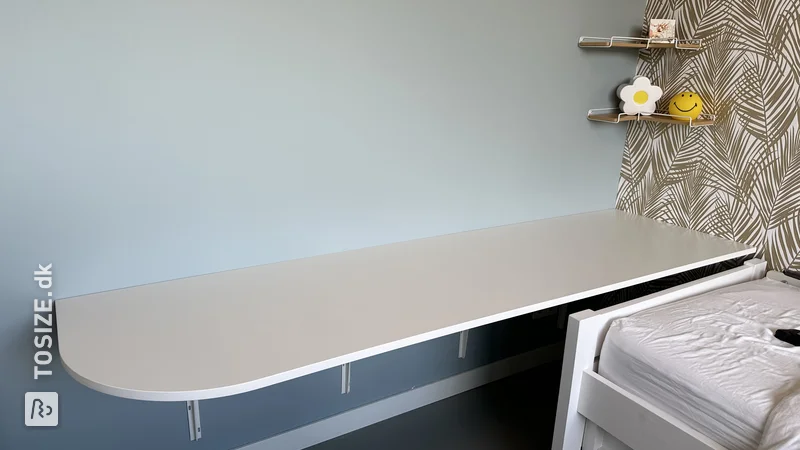
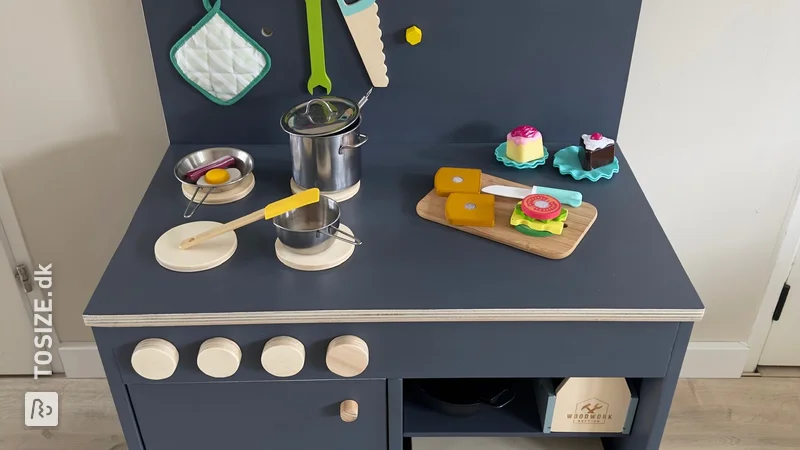
- Step 5: saw the plate for the board behind the furniture into the correct shape. In this case a round shape. The plate runs straight down behind the furniture to allow it to be properly screwed to the top and uprights. The plate does not run all the way down, so that the plate does not get in the way of the skirting board on the wall.
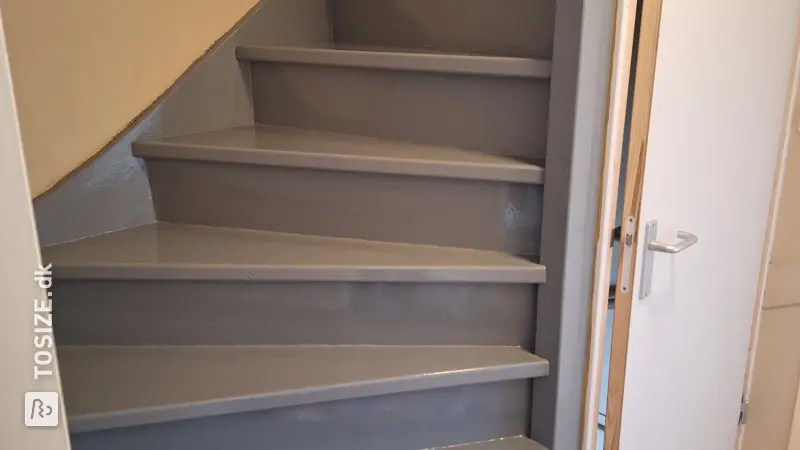
- Step 6: Prime the entire piece of furniture, including boxes and back plate, and then paint it in the desired paint in color.
Dimensions of my DIY project
- Total size: 45x219 cm
- High part: 45x174 cm
- Low part: 45x45 cm !! Please note that these measurements do not include the back plate
Tip! Also check out our handy DIY tips!
What now?
Want to make this DIY project? Check out Nils's saw list and complete your order easily.
DKK 2,960.87
View all sheet materials