- TOSIZE.dk
- Do it yourself
- DIY Projects
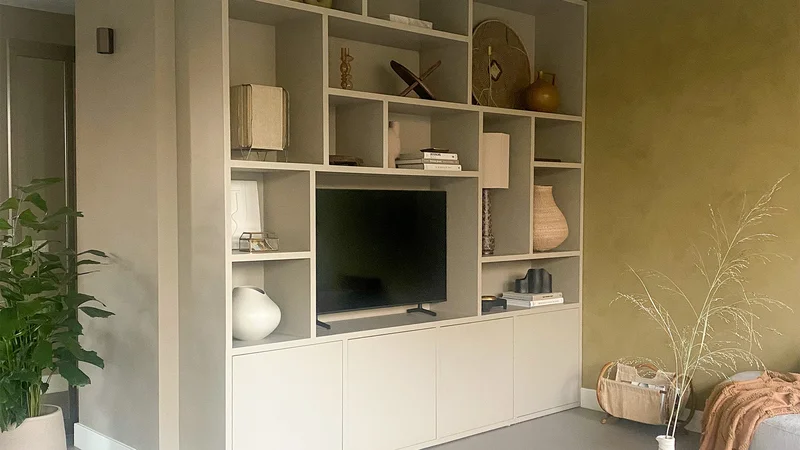
Sturdy cupboard conversion with storage space around a bed, by StyleStek
Sturdy cupboard conversion with storage space around a bed, by StyleStek

Make this furniture yourself using TOSIZE.dk
Agnes
Easy
3 minutes
Description of Agnes
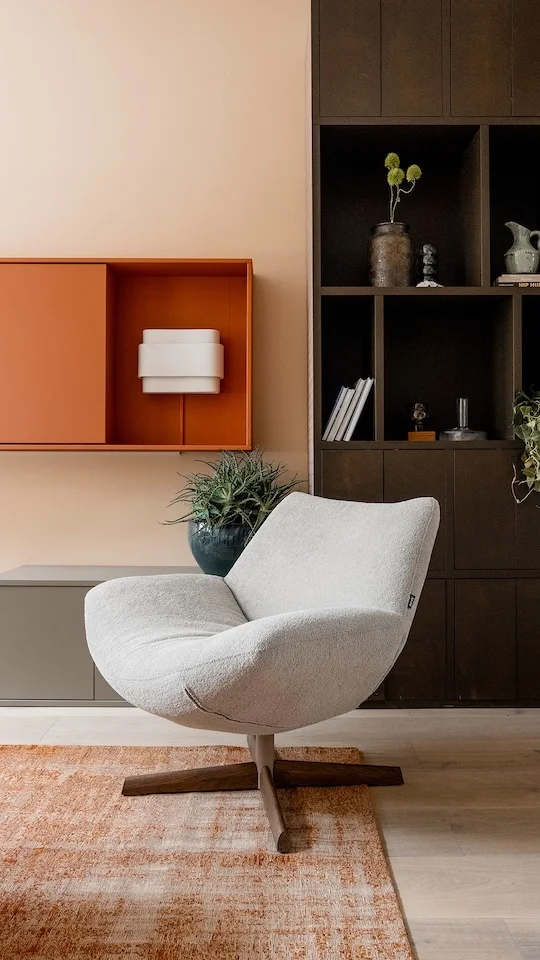
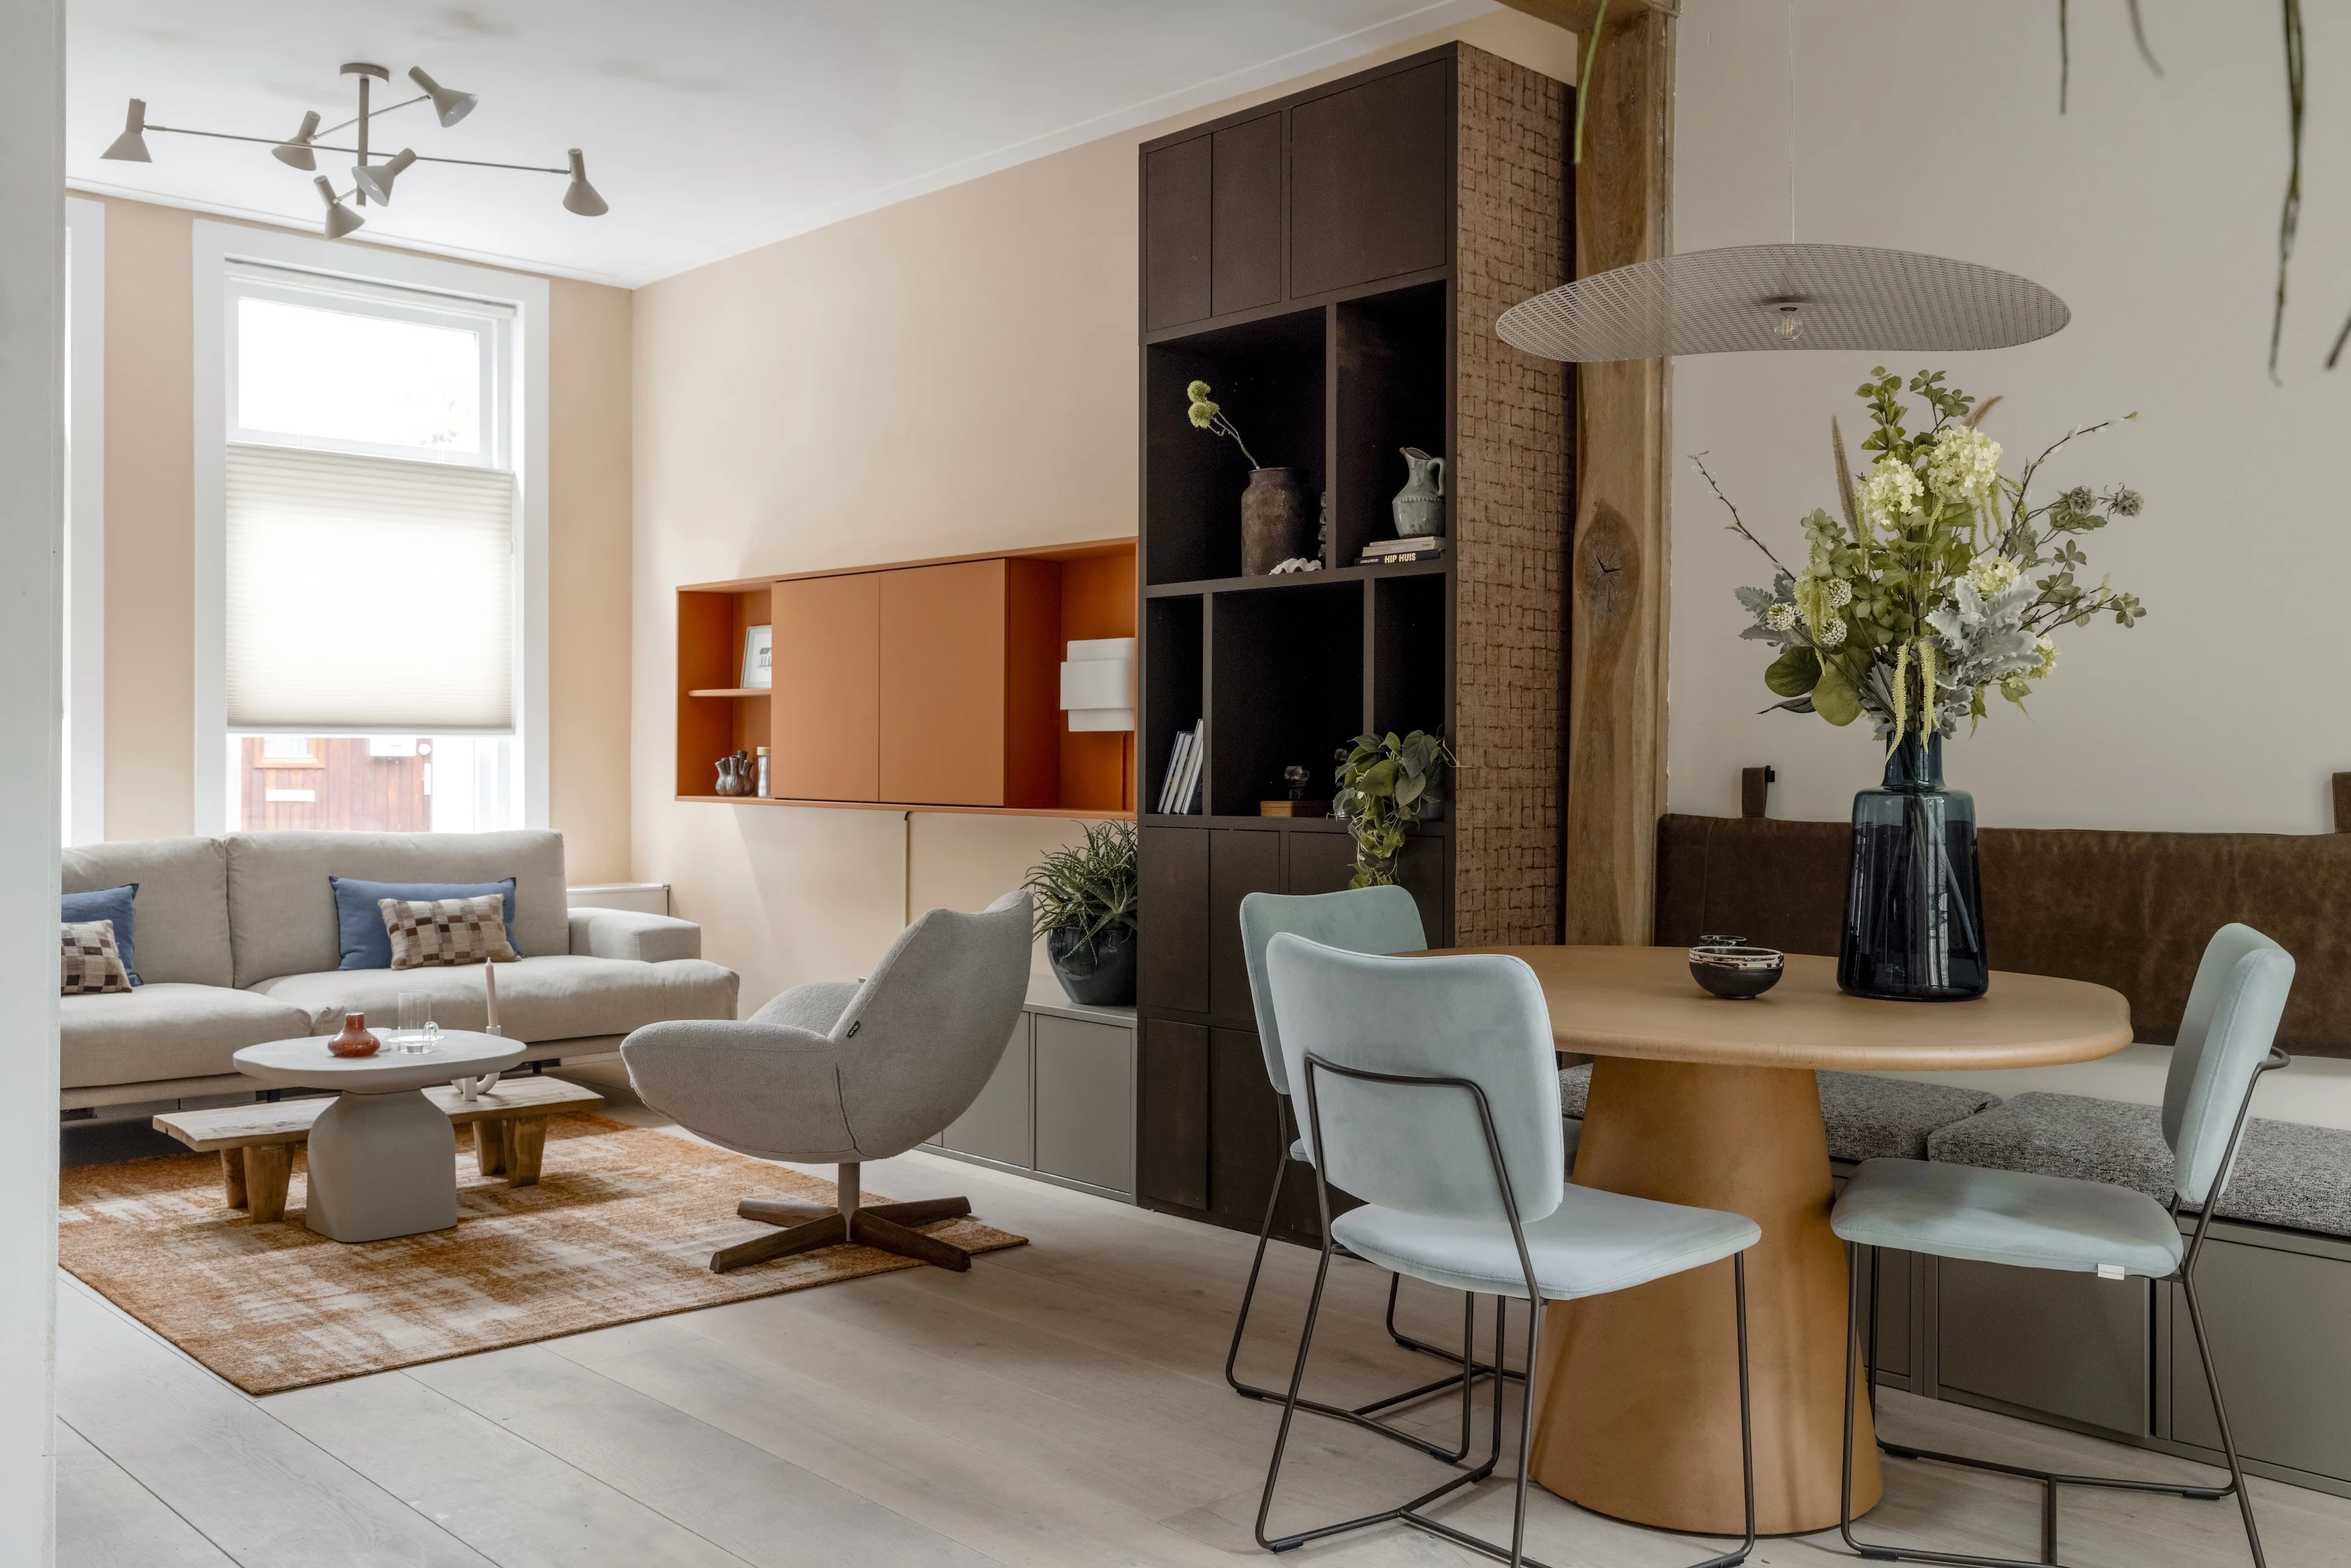
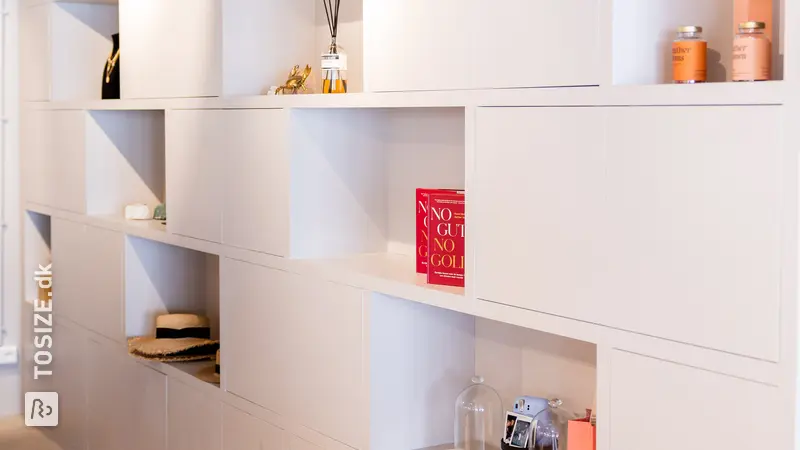
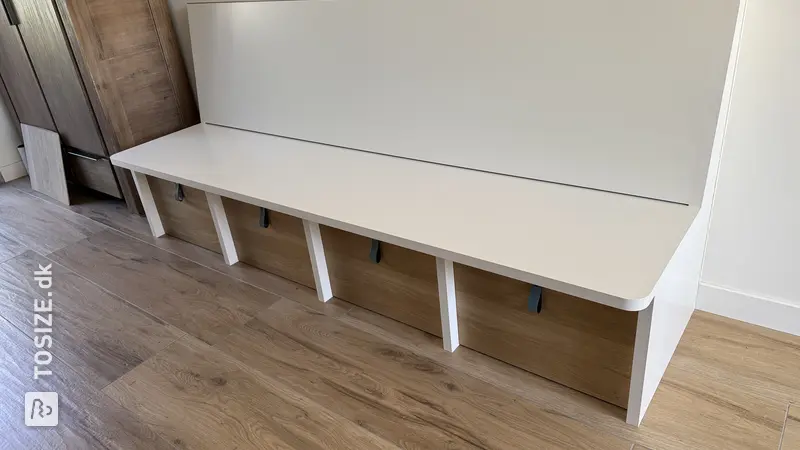
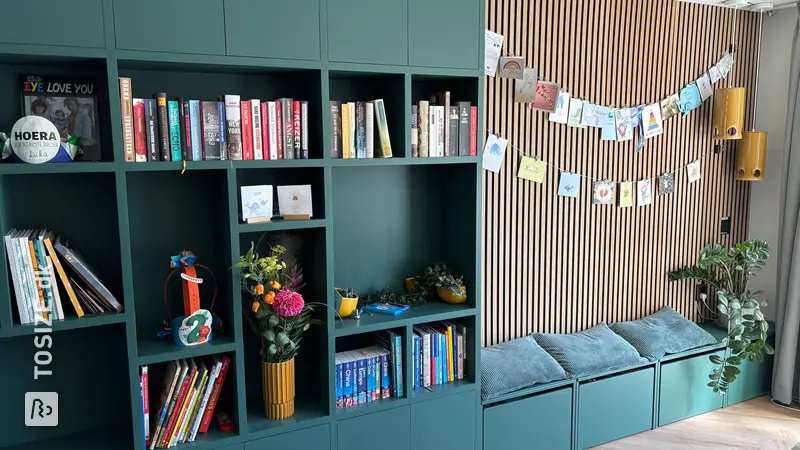
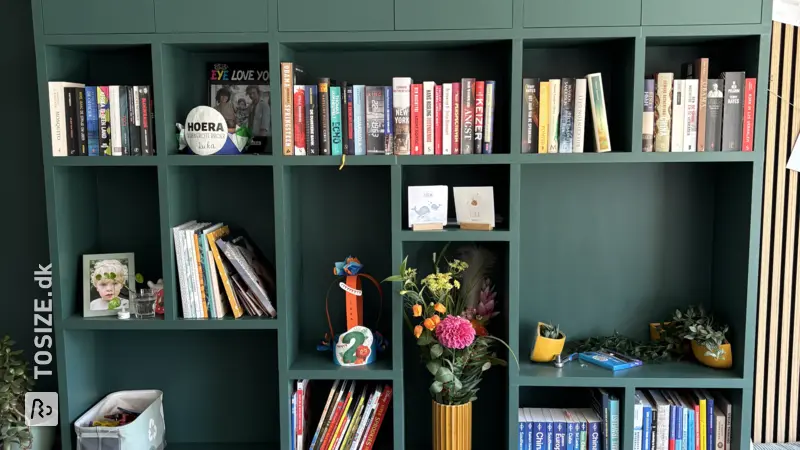
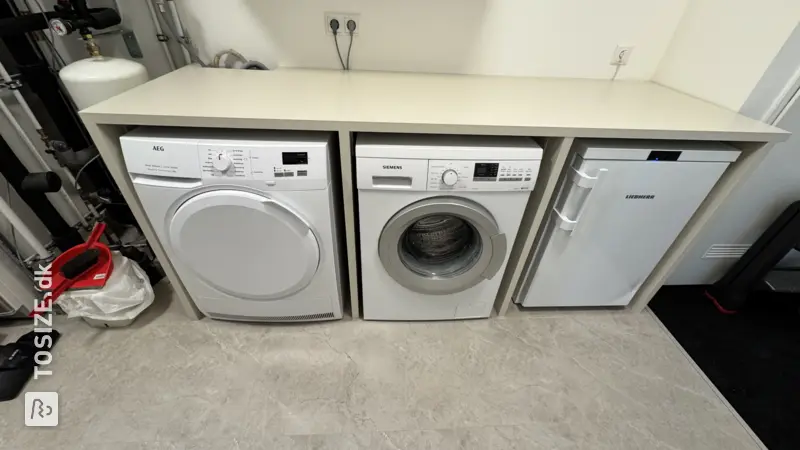
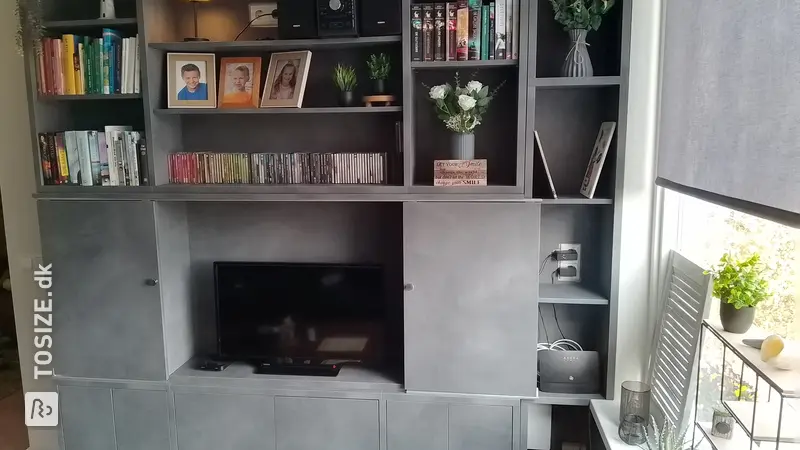
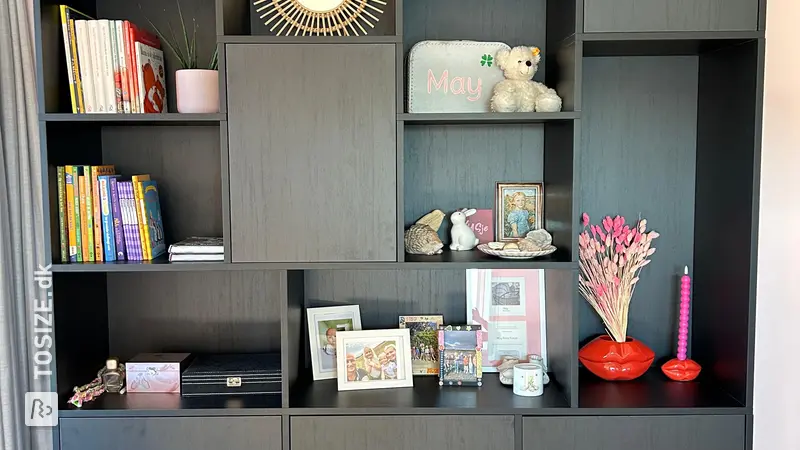
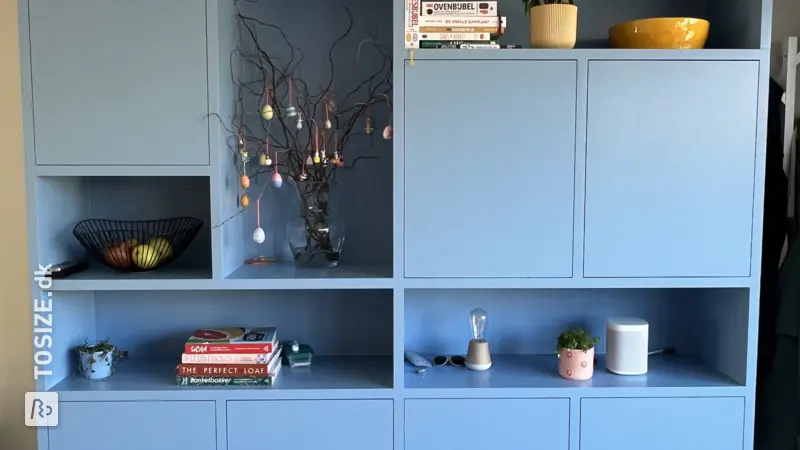
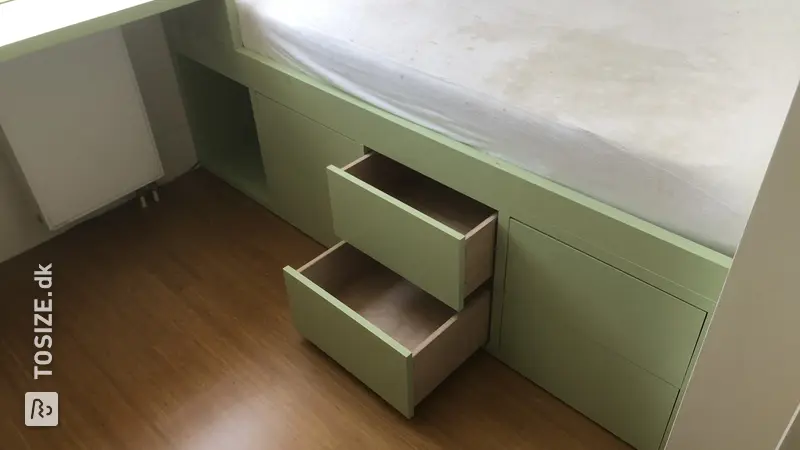
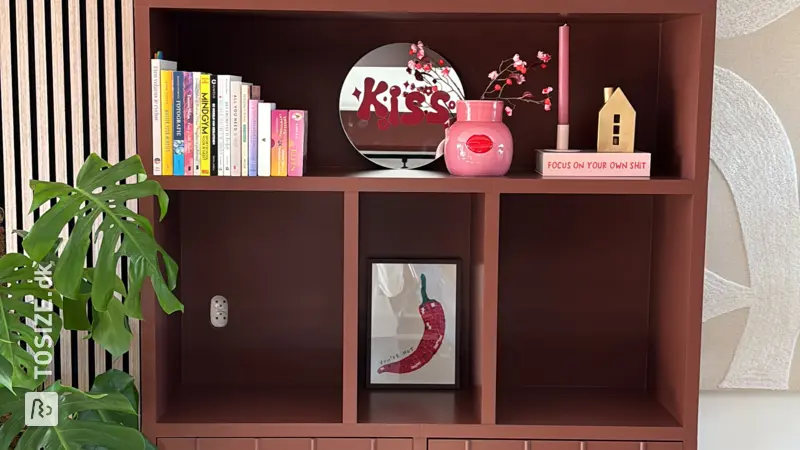
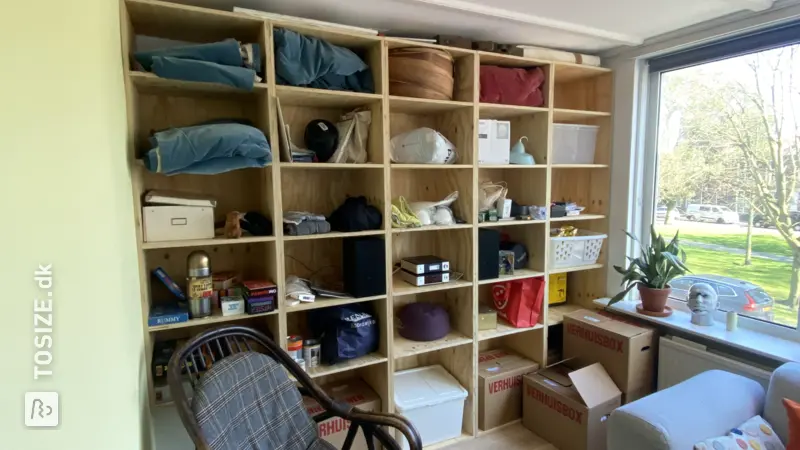
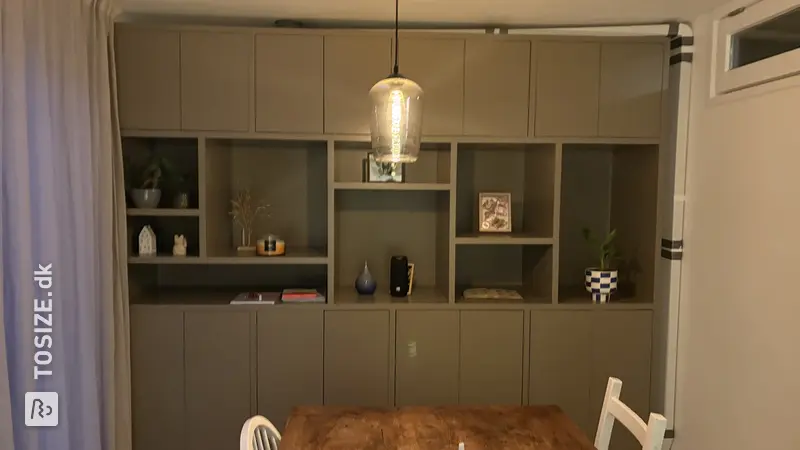
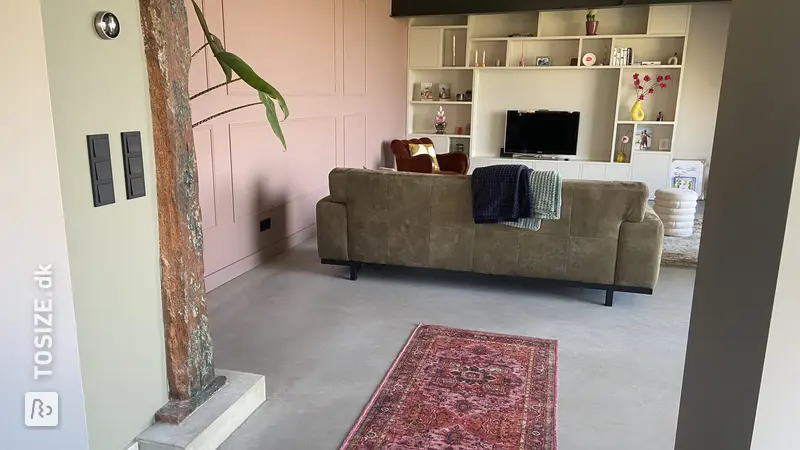
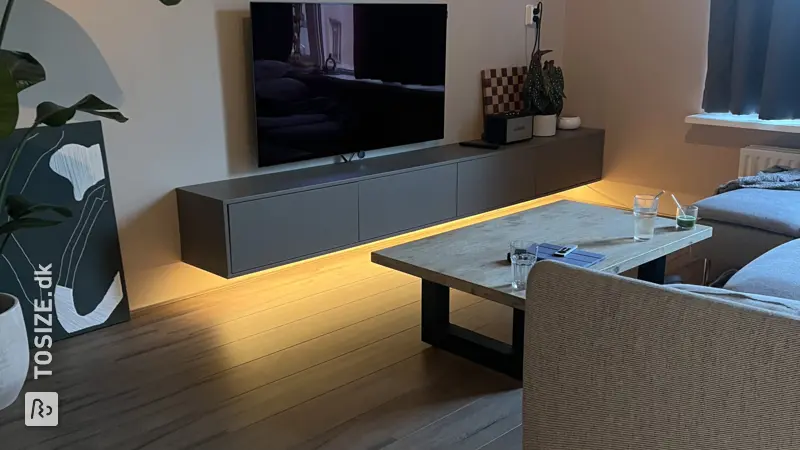
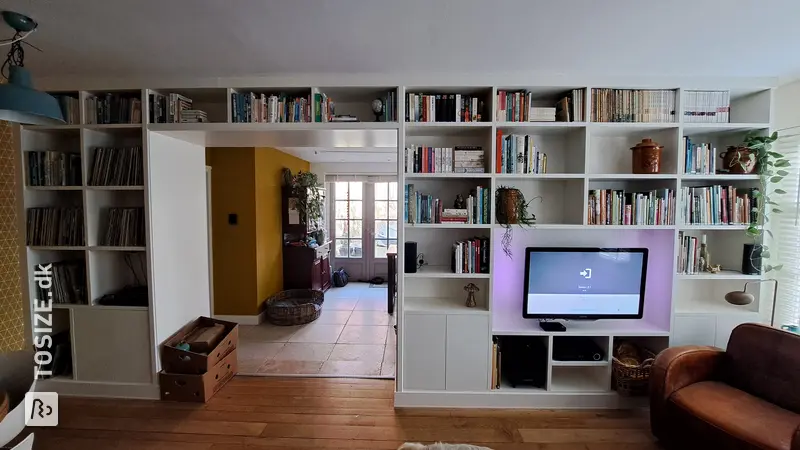
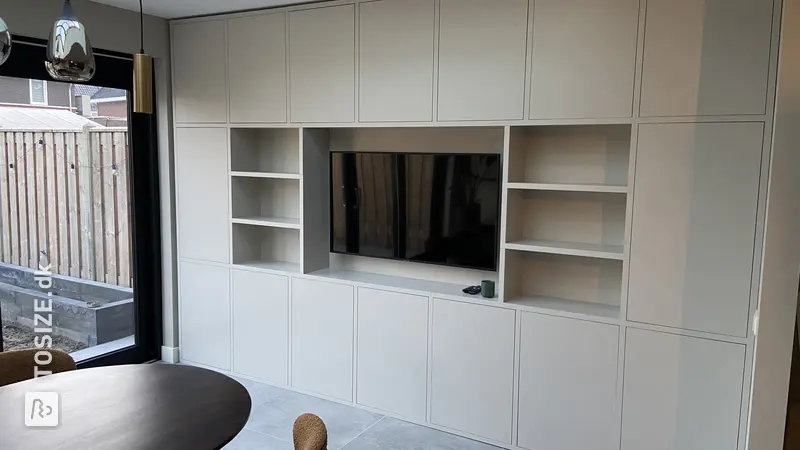
I wanted to create a cozy spot for my son's room, including some extra storage space. During a training of TOSIZE.dk I heard about the new TOSIZE Furniture line. For this purpose I designed this cupboard around the bed to create that cozy spot. We are very happy with the extra storage space it provides! Just before Christmas I received a large package on my doorstep, and we got to work.
How I made this project
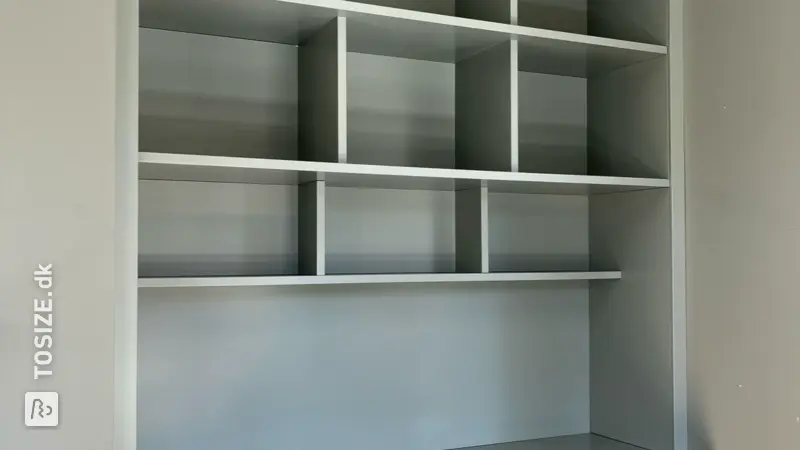
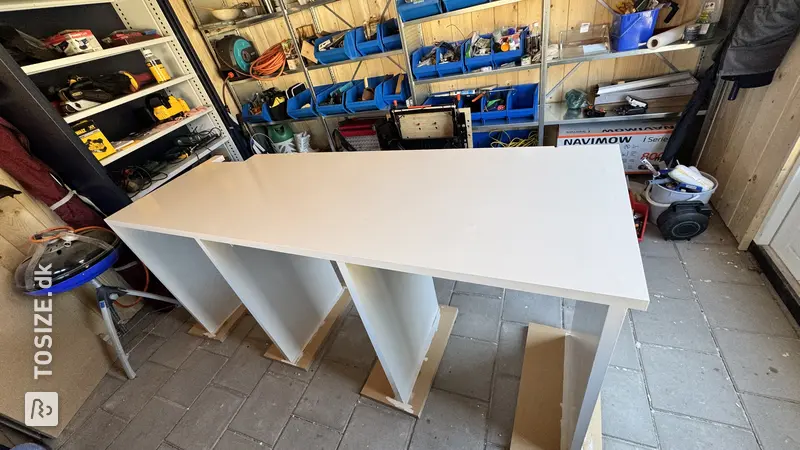
START BUILDING CUPBOARD
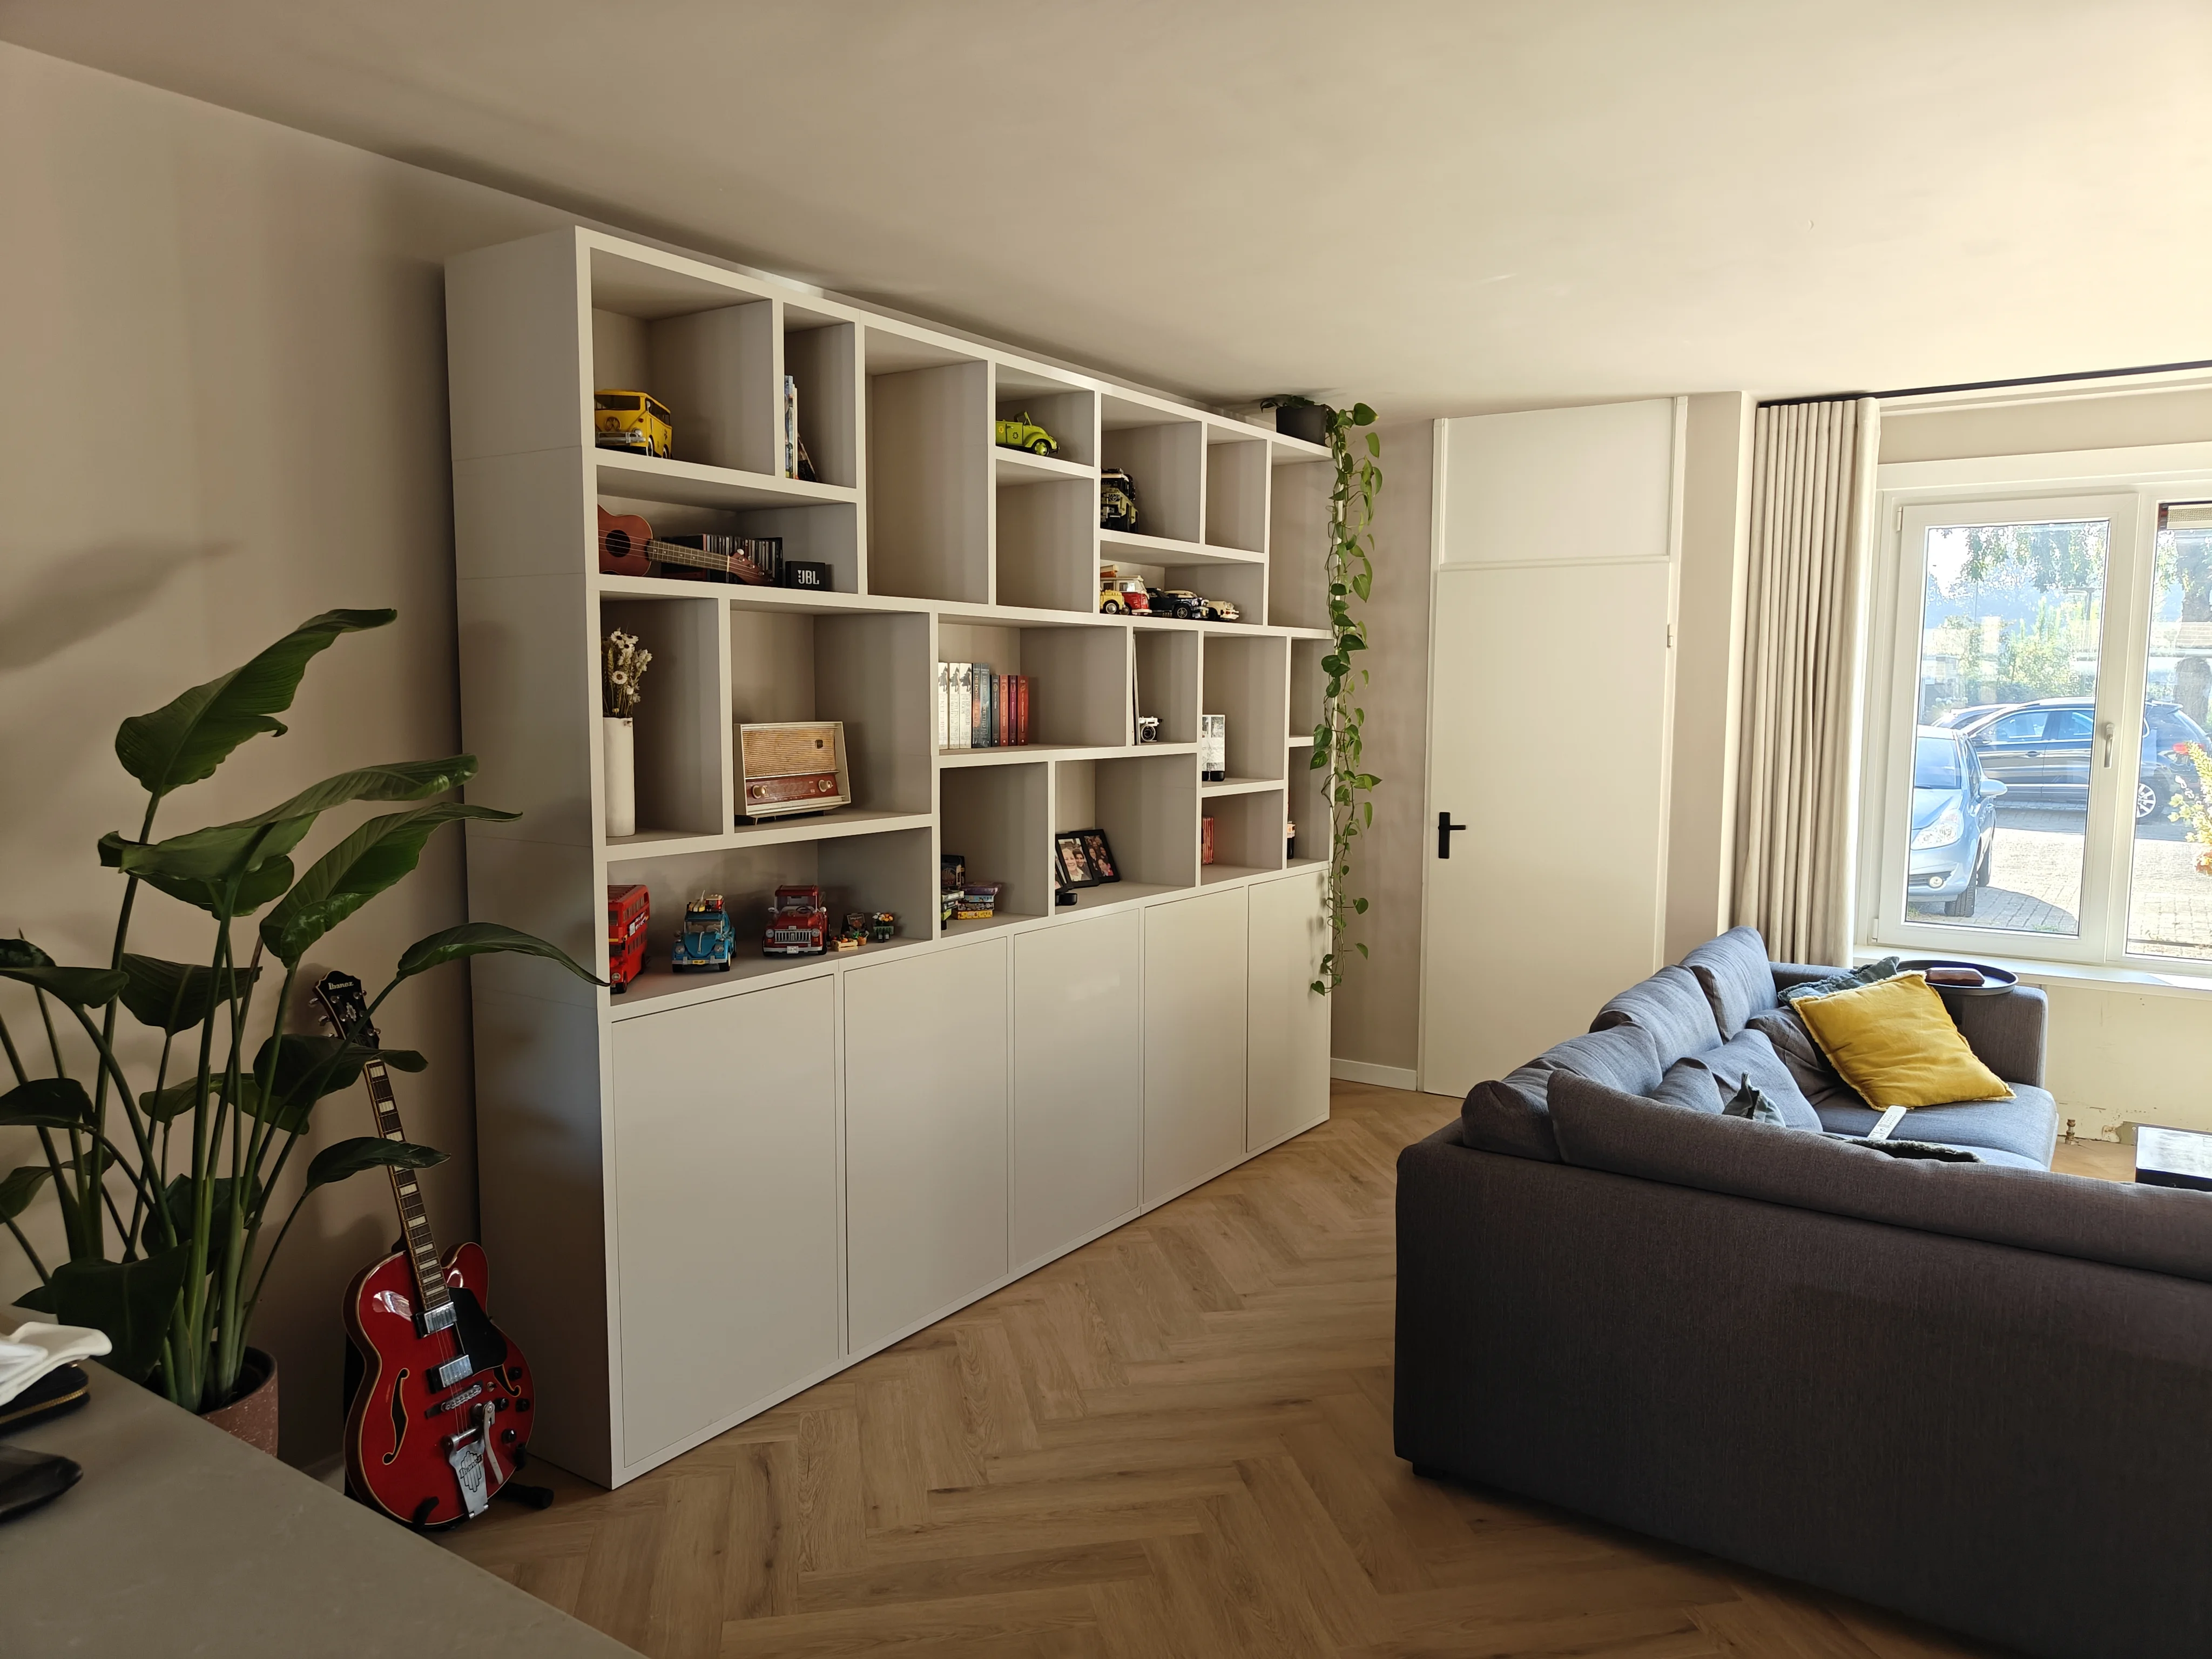
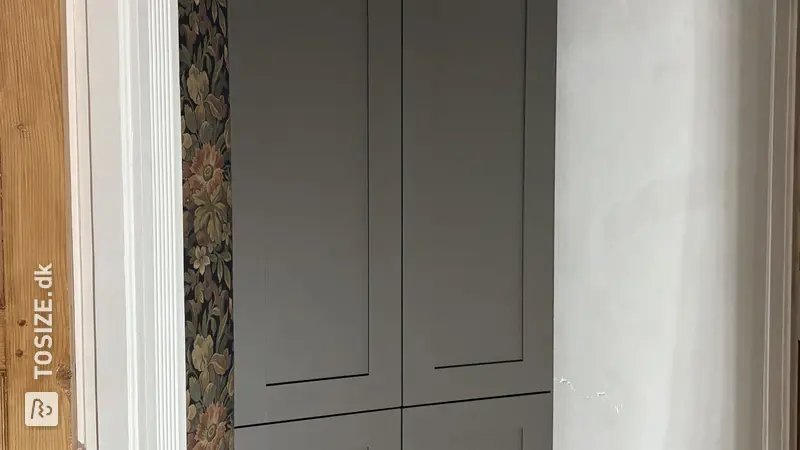
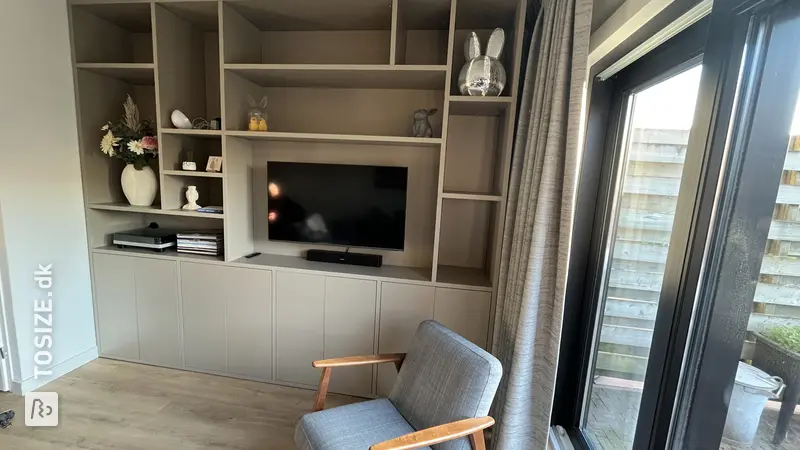
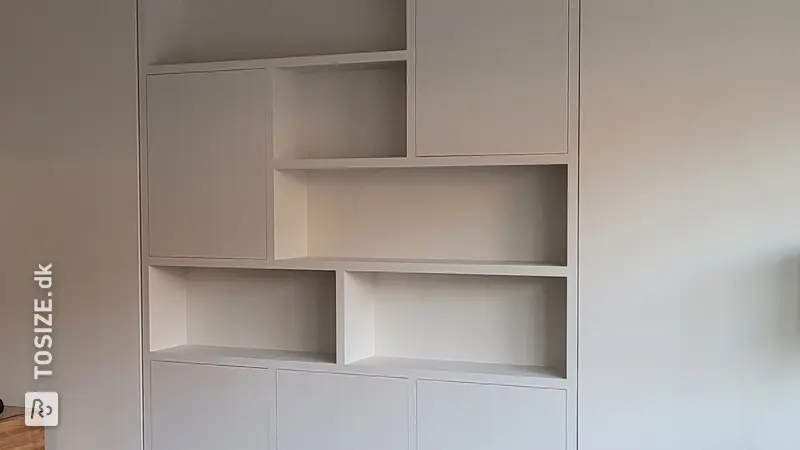
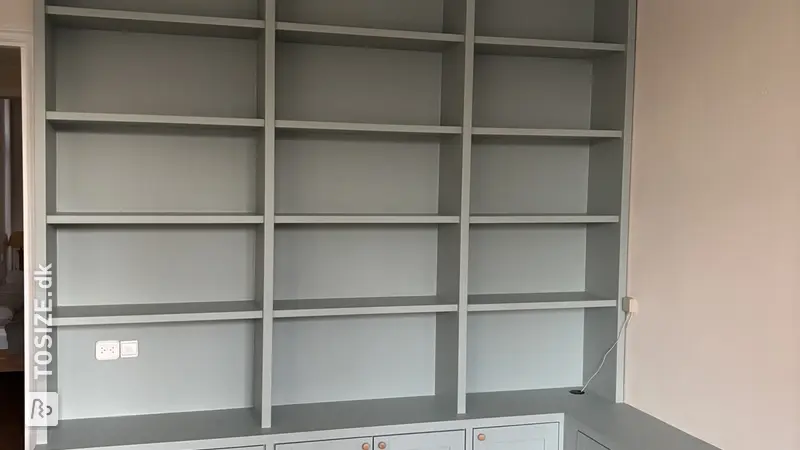
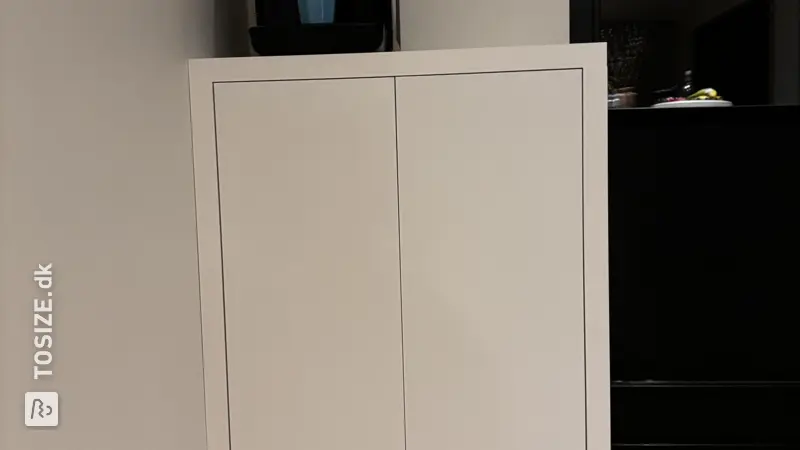
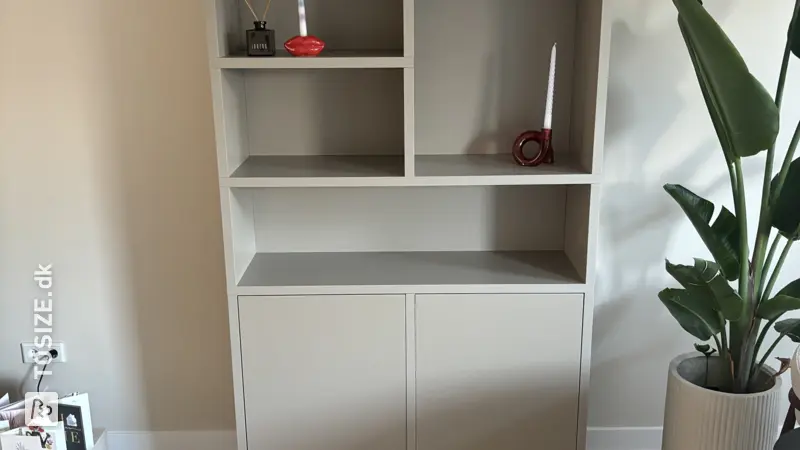
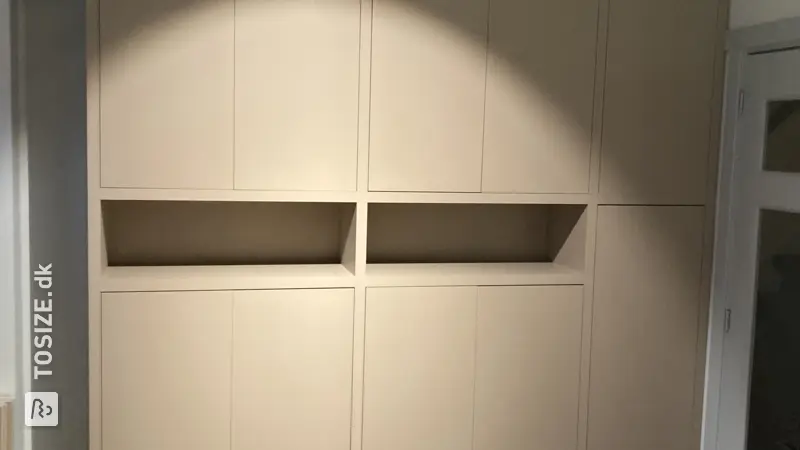
My husband and I put the cupboard together and even without instructions it was very easy because each shelf had a sticker with a number. In this new line the planks cannot be very long. I still wanted a shelf on top so that there would be a niche for the bed to sit in. For this purpose I had an extra plank cut to size. We then screwed this to the top. We have specially opted for screws on the plank so that the plank can always be removed if, for example, a double bed is needed in the future.
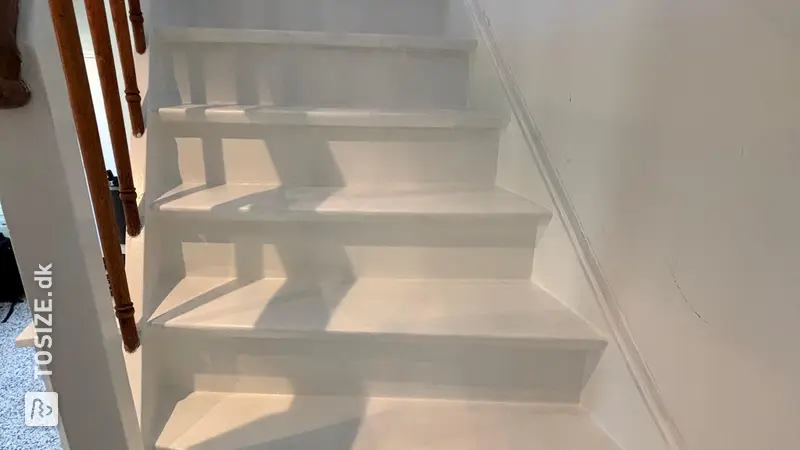
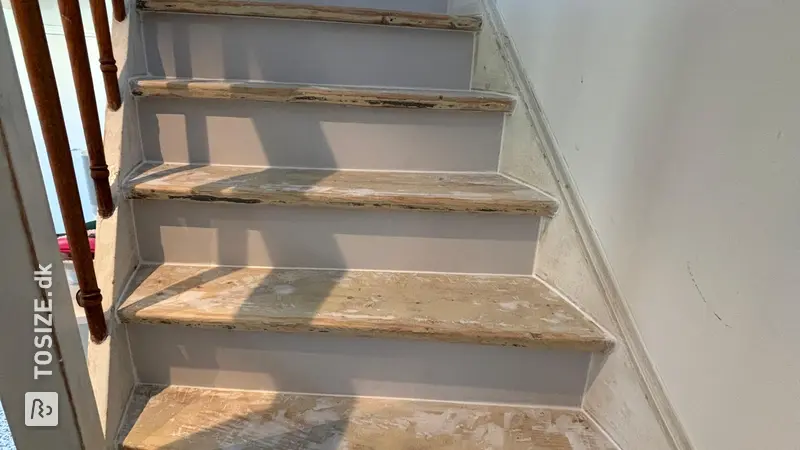
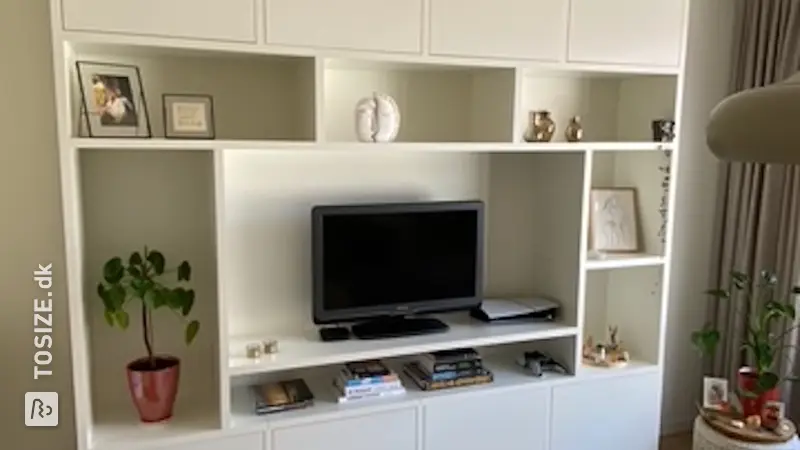
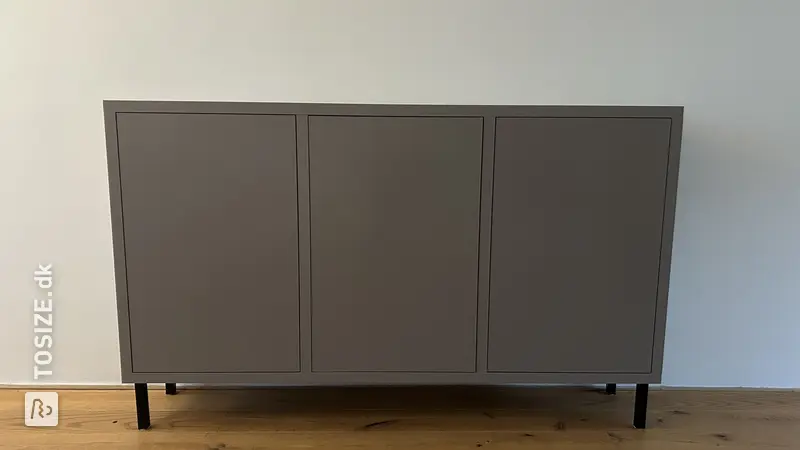
PAINTING
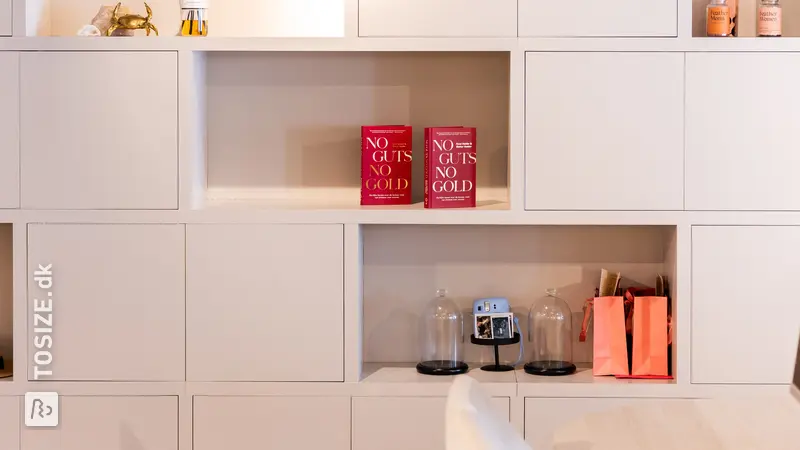
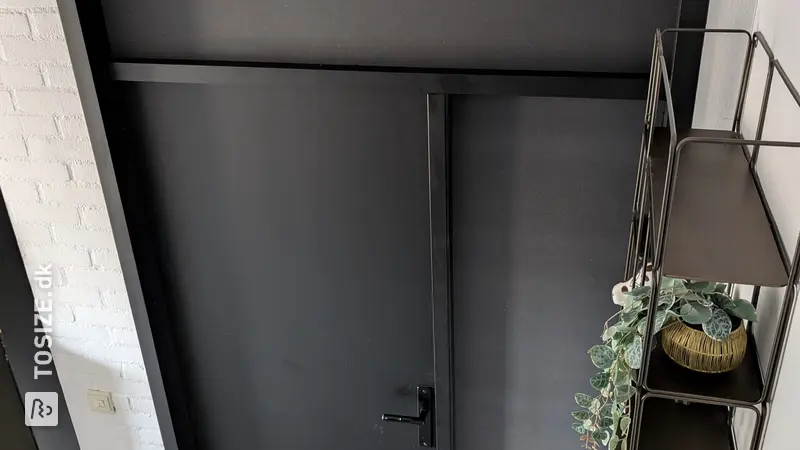
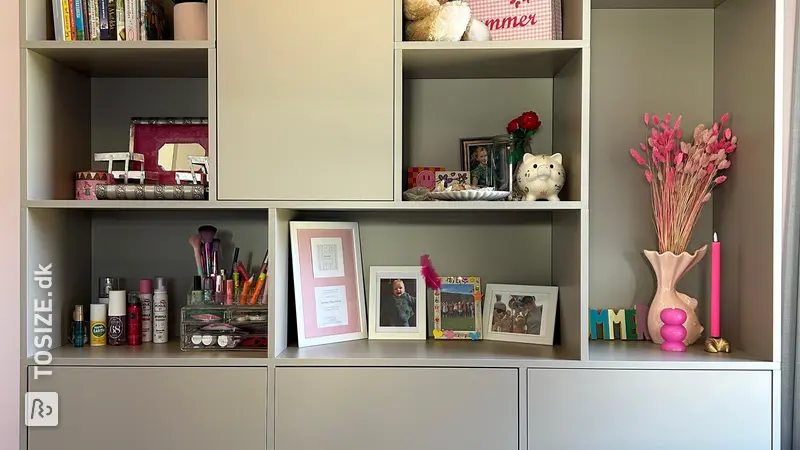
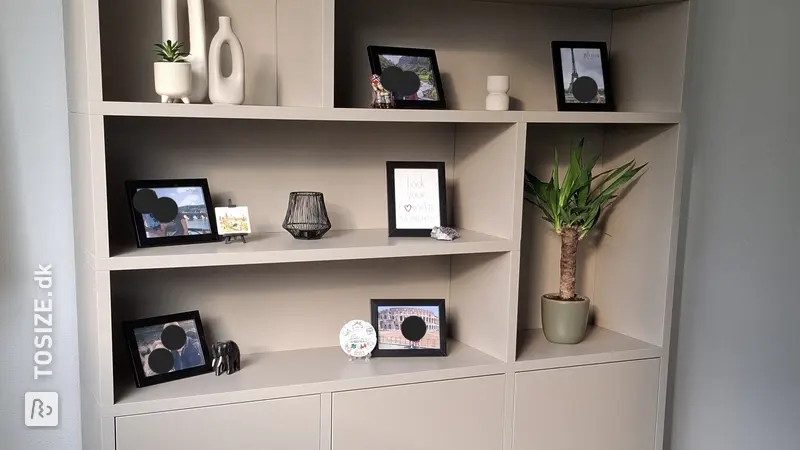
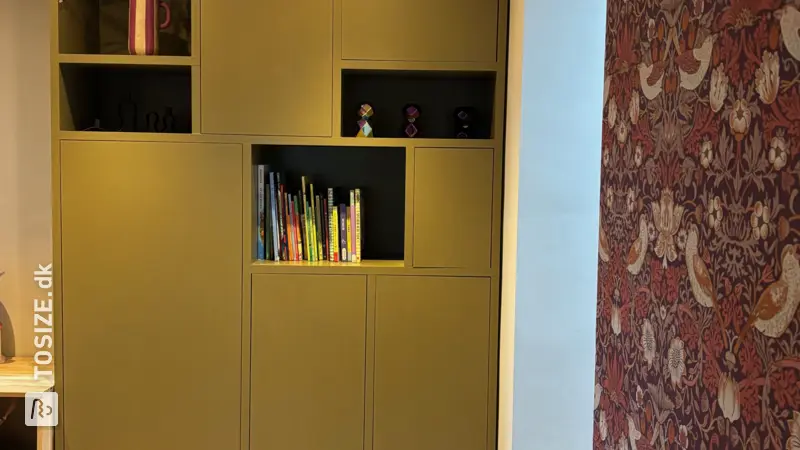
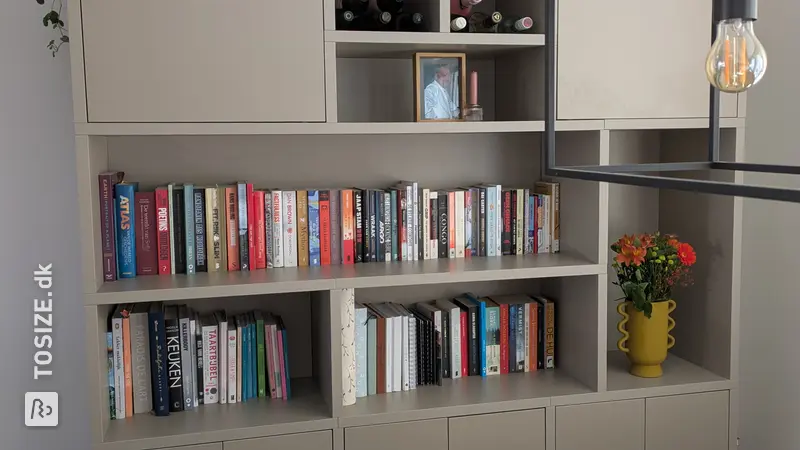
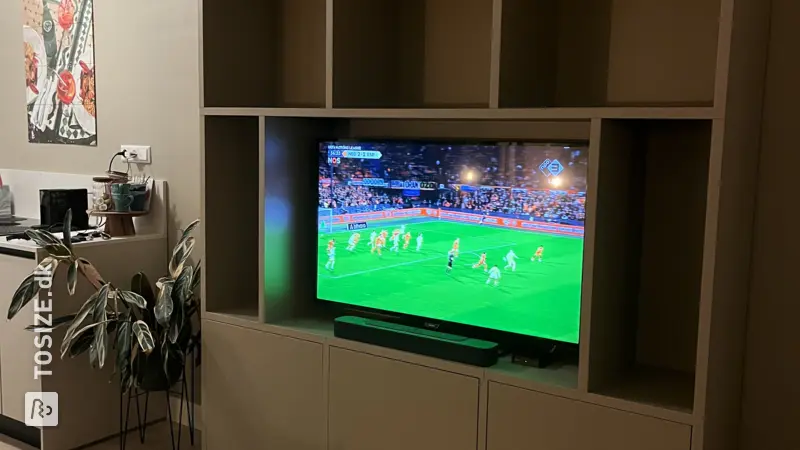
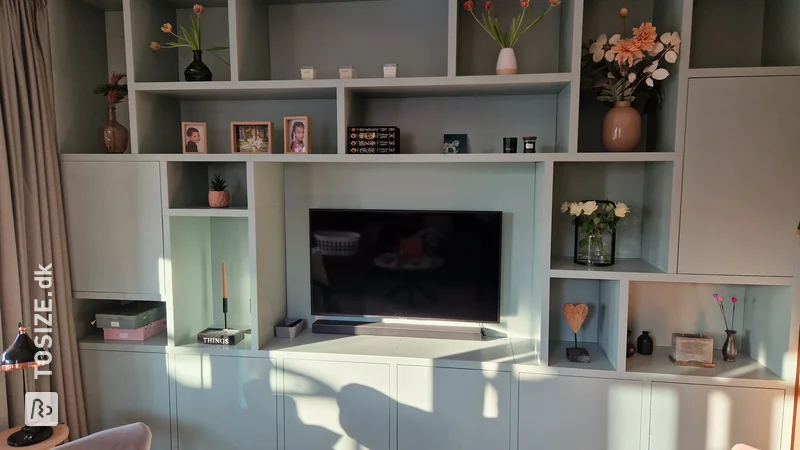
I received the tip from TOSIZE.dk to first treat the sawn edges of the MDF with an edge sealer. This means that the paint is less absorbed. This edge sealer is also available from TOSIZE.dk and was therefore delivered within a few days. First I sanded the edges and then covered them with edge sealer. I then repeated this again for optimal effect. The cabinet was then completely sanded. After this I applied a layer of primer. I used the color Silence from LAB paint. At Vestingh they also mix the primer in the desired color. This means you immediately have the right color with the primer. Then lightly sand the cabinet again, after which the paint could be used. We painted the cabinet twice with the paint. 1 liter was sufficient for both the primer and the paint.
TIPS
Here are some tips that might be useful if you also have a cupboard ( around your bed).
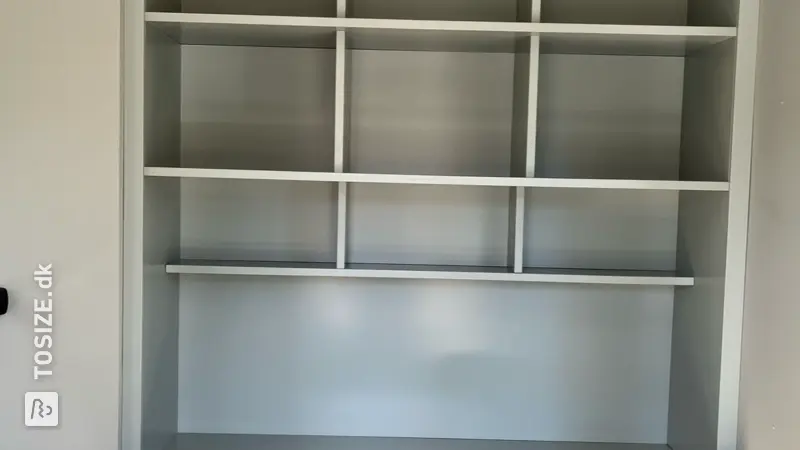
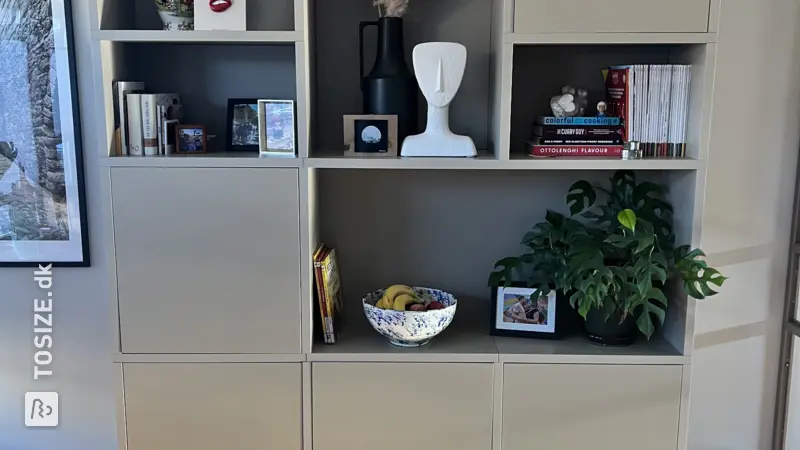
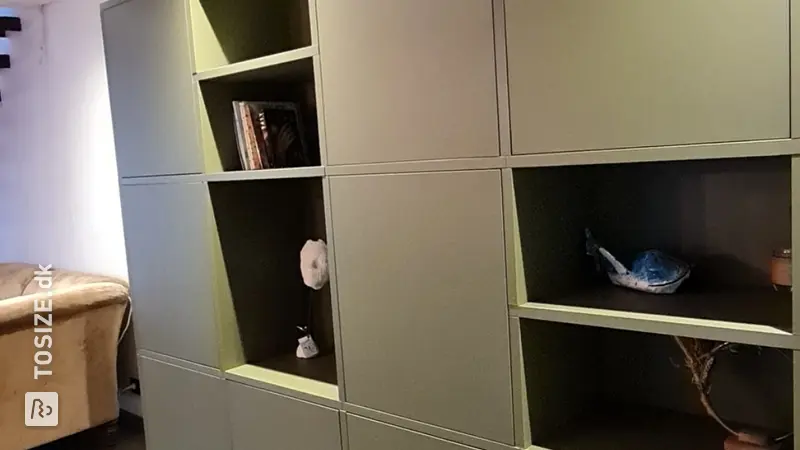
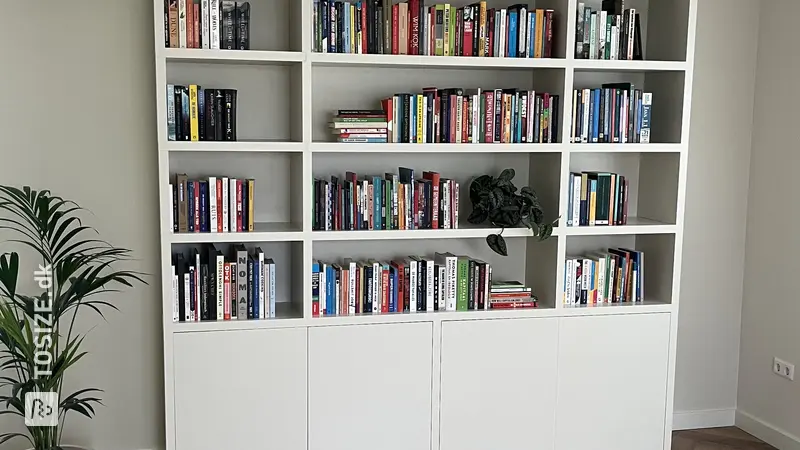
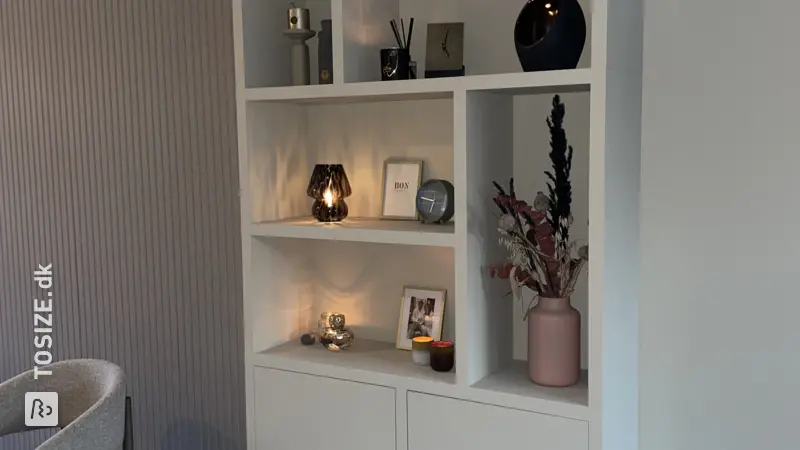
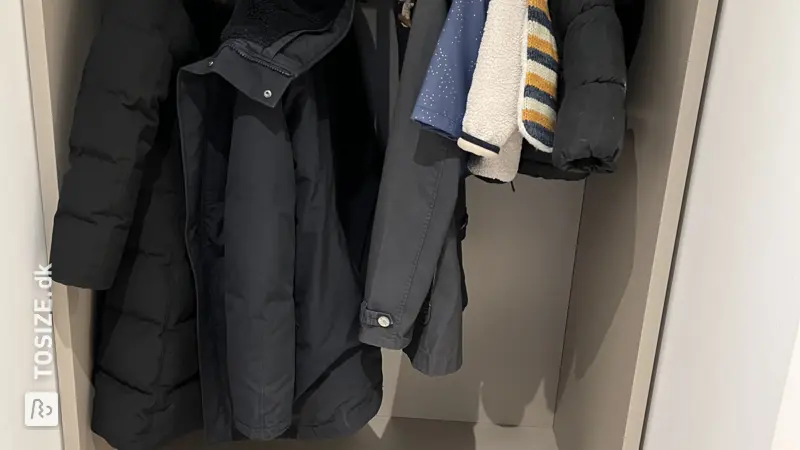
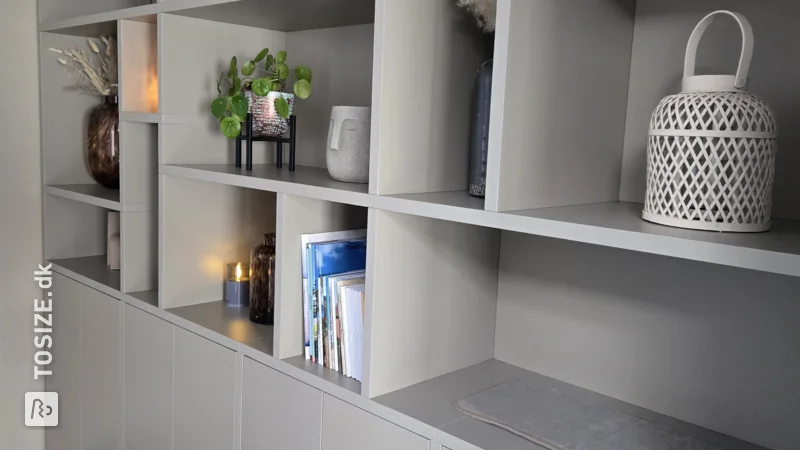
- Think in advance what you would like to display in your closet. Also take the size of the compartments into account. For example, if you have crates that you would like to put in, make sure that the compartment is large enough.
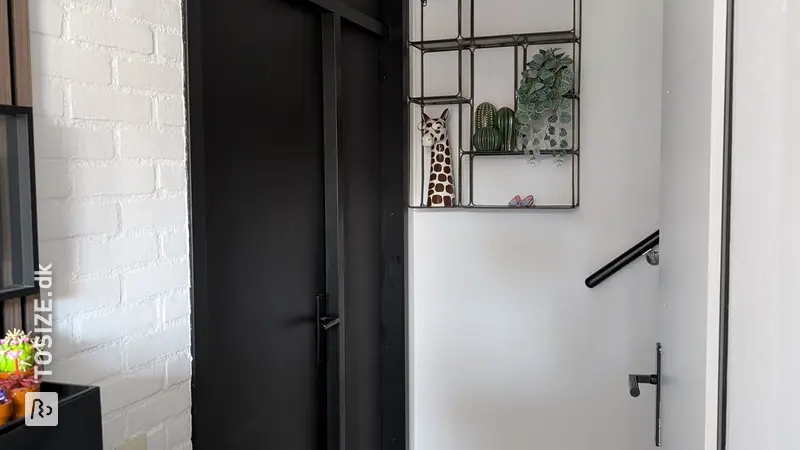
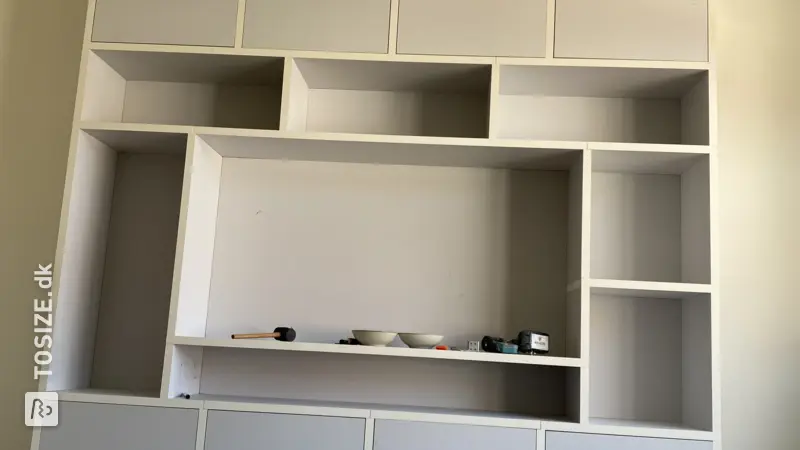
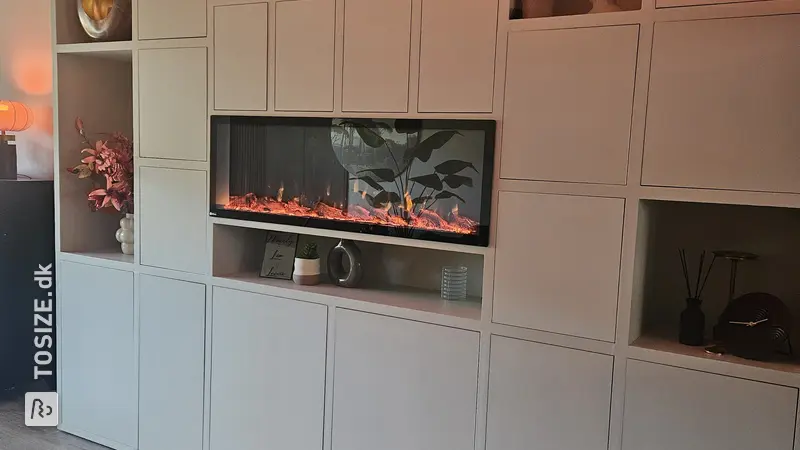
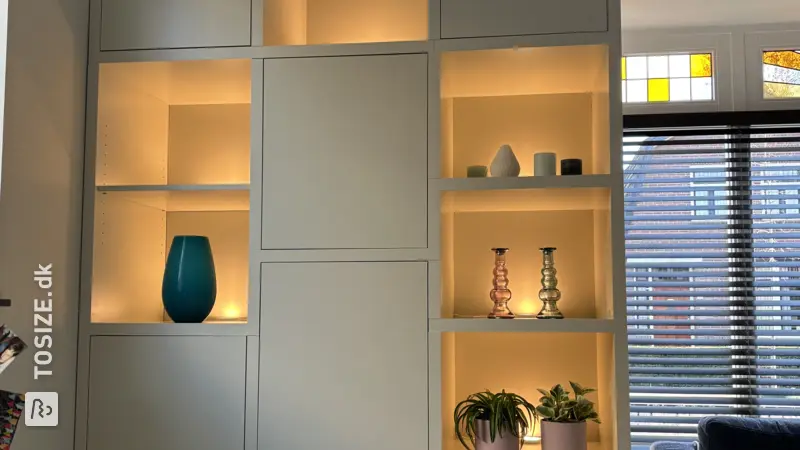
- I am glad that we do not have to use the wall that is most visible when you enter the room. had too many lines of the boards. This keeps the image calm.
- I would definitely recommend edge sealer for a smoother effect.
- When you remove the doors to paint, make sure you know where each door was located. I did not make a note of this and because most doors are fairly similar in size, it was a real puzzle to put the doors back in place.
- I would fill slightly larger gaps with wood filling before painting.
Dimensions of my DIY project
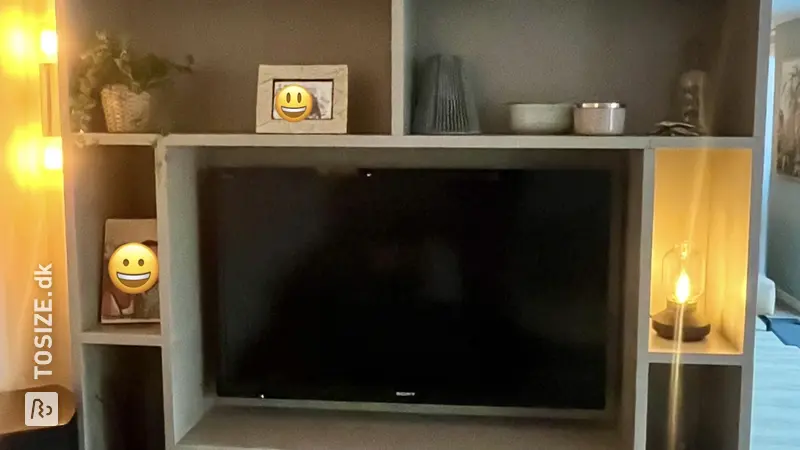
162.0 × 220.0 × 40.0 cm
Tip! Also check out our handy DIY tips!
What now?
Do you want to create this DIY project? This piece of furniture is part of our TOSIZE Furniture collection. Design your personalized, custom-made furniture using our 3D configurator! Want more information? Learn more about available colors, assembly, or browse all frequently asked questions. You’ll receive a TOSIZE Furniture package, including an installation kit.
DKK 18,122.26
View all furniture
085 888 29 55